Onset has a timeout for unresponsive players and a separate connection limit per IP address.
- Stop your Onset server in the game control panel and wait for Stopped.
- Open Configuration Files and choose Text Editor beside
server_config.json. Use Text Editor for Onset. The Config Editor currently saves invalid JSON.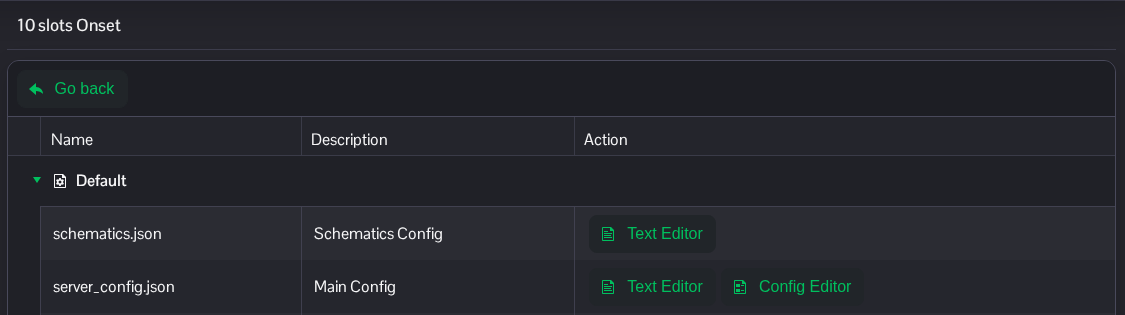
- Set
timeoutin milliseconds andiplimitto the number of connections allowed from one IP. The example uses a timeout of 20 seconds and two connections per IP. Change the existing entries and keep the rest of the JSON, including its commas."timeout": 20000, "iplimit": 2,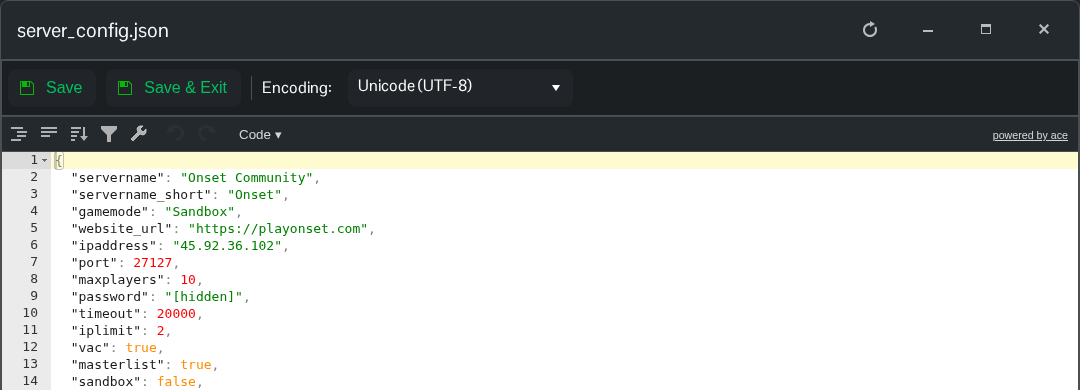
- Click Save & Exit, return to the service page and start the server.
Keep timeout between 10000 and 20000, as specified by the developer. People using the same home connection normally share a public IP, so allow enough connections for the players who share one.
The file is server_config.json at the root of File Manager. FTP is an alternative if you prefer to transfer a local copy.
