Restore a cfg-folder backup to undo configuration changes. This replaces the current cfg folder with the snapshot, so use a backup from the same game version. After a game update, restore only your own custom files instead of rolling back Valve’s stock configuration.
- Log in to the game panel, open your Counter-Strike 2 service and Stop it.
- Open File Manager. Its starting folder is already
game, so opencsgo. You can also connect through FTP and opencsgoinside your service directory. Upload your saved ZIP intocsgousing Upload and the panel’s drag-and-drop upload method, or transfer it to the same folder through FTP. This example usescs2-config-backup.zip.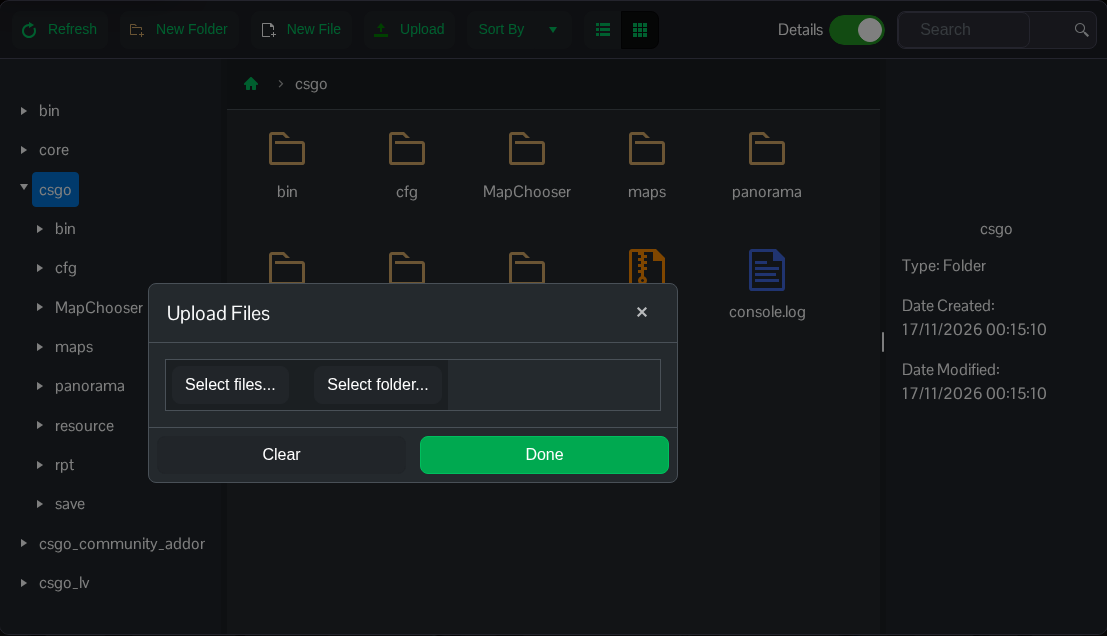
- Right-click the current
cfgfolder and choose Rename. Enter an unused name such ascfg-before-restorein the inline filename field and press Enter. Keep this folder until you have checked the recovery. - Right-click
cs2-config-backup.zipand choose Extract. A backup with a top-levelcfgfolder recreates that folder insidecsgo.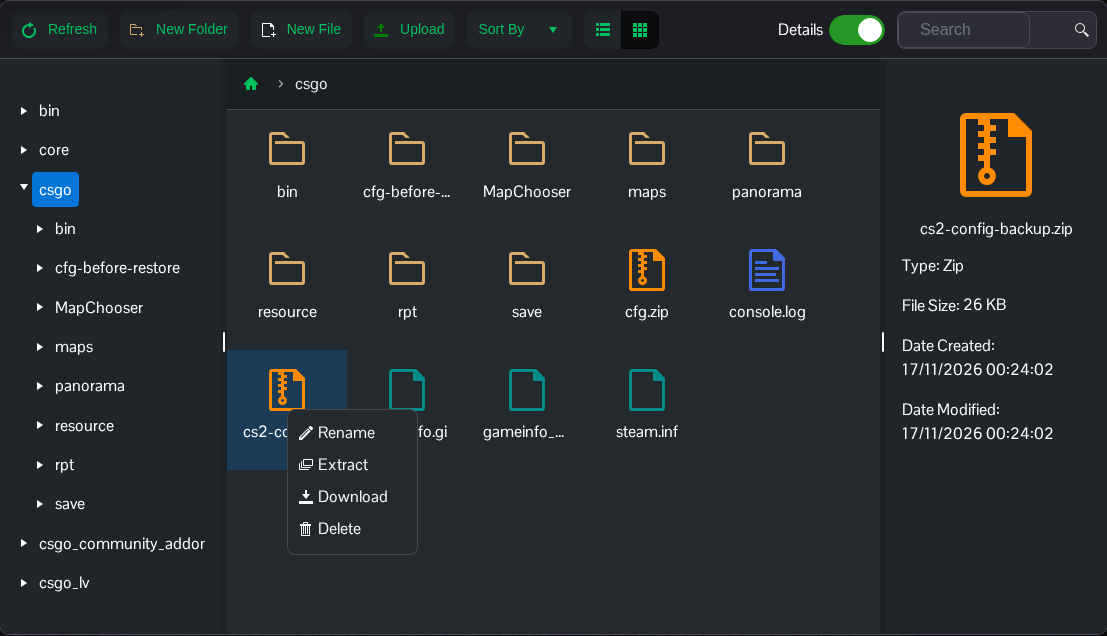
- Open the restored
cfgfolder and checkserver.cfgand any customgamemode_*_server.cfgfiles. Start the server and check the recovered settings.
Your selected command line is stored separately. Restoring cfg does not undo a map or mode selection made in Commandline Manager.
