Run Steam Update while the server is stopped, then check that the game completes its startup.
- Open your Night of the Dead service in the game panel and click Stop. Wait for it to show Stopped.
- Before updating, use File Manager to keep independent copies of
LF/Saved/Config/ServerSettings.iniand yourLF/Saved/SaveGamesdata. FTP is also available for transferring these files. Keep the copies outside the server. - Click Steam Update and accept the confirmation. The update starts when the page opens; keep it open while SteamCMD runs.
- Wait for
Success! App '1420710' fully installed.andThe process has completed..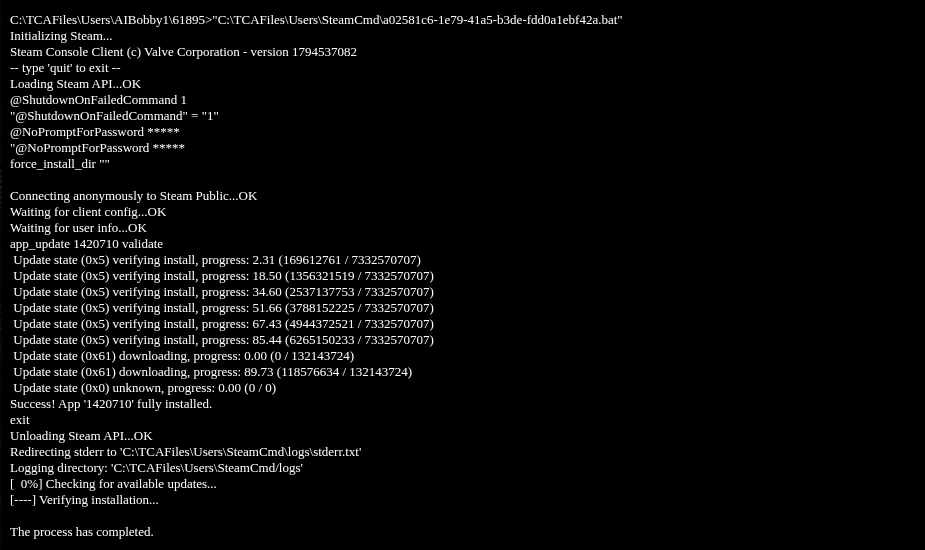
- Return to the service page and click Start. Check the current
LF.logusing Log Viewer. Successful EOS startup includesCreate Dedicated Session CompletewithWasSuccssful: true, followed byStart Session Complete. - Reopen your configuration to check your settings, then confirm your players can join using the matching game version.
A Running status alone does not confirm that the game session is ready.
