Set your server name through the custom command-line profile used to start The Front.
- Stop your The Front server and wait for Stopped.
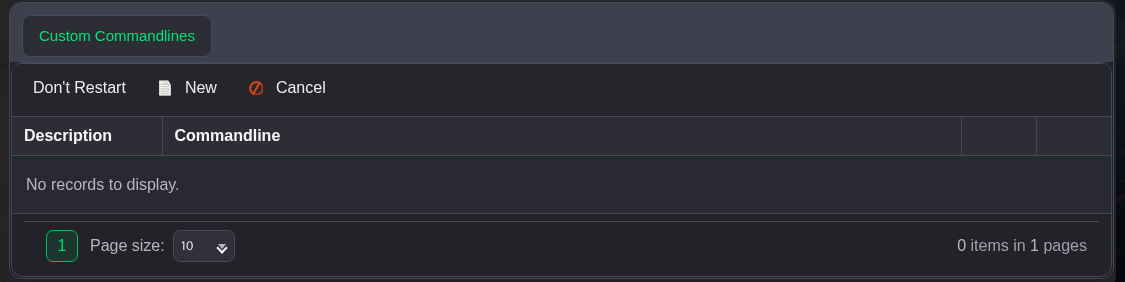
- Open Commandline Manager. Click Edit beside the custom profile you use. If you do not have one, click New and enter a description such as Community settings.
- Tick the selection checkbox to the left of Server Name, then enter the name you want. The example uses The Front Community. Keep the other selected settings in place.

- Click Save at the bottom of the form, then click Select beside that profile. Scroll the command-line table to the right if the action links are off screen.
- Return to the service page and start the server.
Use Commandline Manager for the server name. Its launch setting takes priority over ServerName in ServerConfig_Logicservers.ini.
