7 Days to Die admins are set in the serveradmin.xml file. You will need the player's SteamID64, not just their Steam name, as Steam names can change.
You can find a SteamID64 using a lookup site such as steamid.io. The SteamID64 is the long number that usually starts with 7656.
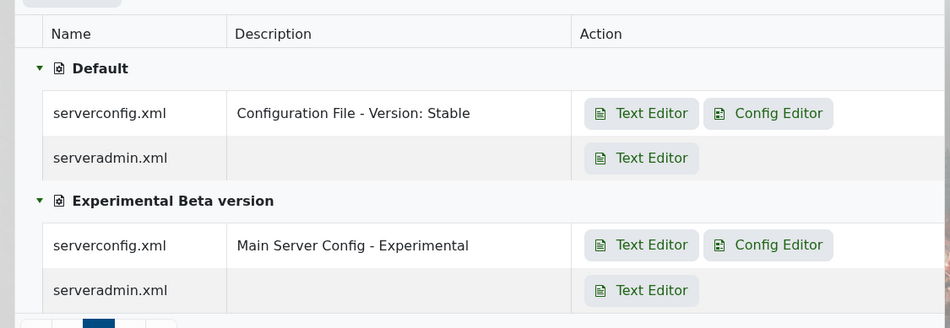
Open your 7 Days to Die server in the control panel, then click Configuration Files. Find serveradmin.xml and open it with the Text Editor.
Scroll down until you find the <users> section. This is where admin users are added.
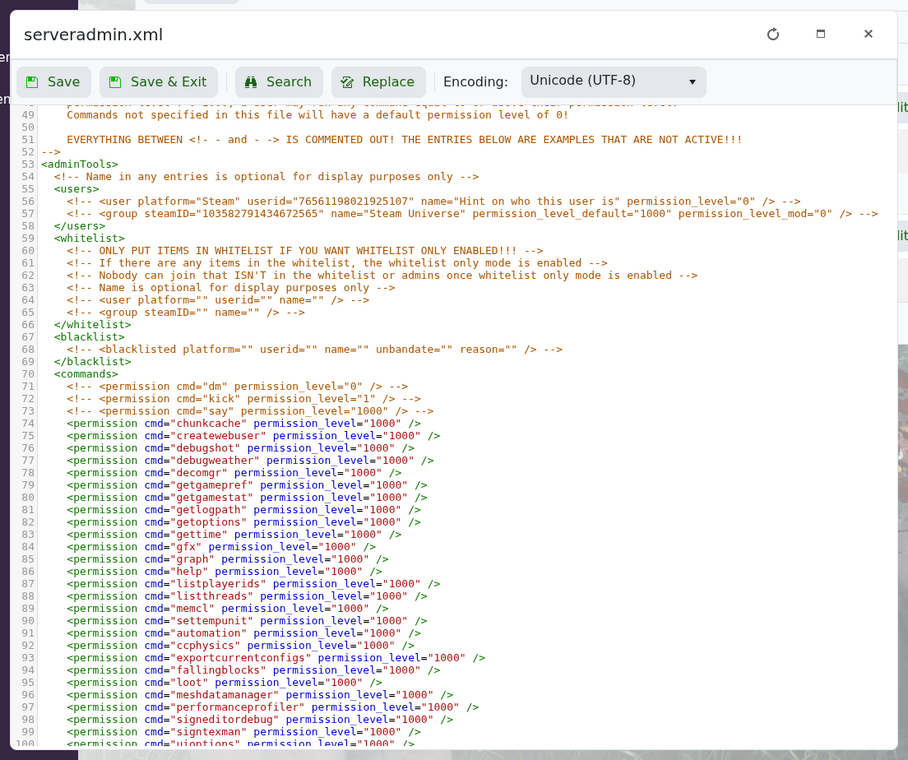
Add one line for each admin you want to add:
<user platform="Steam" userid="76561198000000000" name="PlayerName" permission_level="0" />
Replace the example number with the player's SteamID64. The name value is just a label to help you remember who the entry belongs to. Permission level 0 gives full admin access.
A simple admin section should look like this:
<users>
    <user platform="Steam" userid="76561198000000000" name="PlayerName" permission_level="0" />
</users>
Save the file, then restart your server so the change is loaded. The player should then be able to use admin commands in-game.
If admin permissions do not work, check that the SteamID64 is correct and that the XML formatting has not been broken. A missing quote or closing tag can stop the file loading properly.
