Oxide, also known as uMod, lets compatible 7 Days to Die servers run plugins. Install it from the control panel first, then upload plugin files and check the server console for plugin errors.
Before installing Oxide
- Stop the server before changing mods or plugins.
- Take a backup so you can roll back if a plugin breaks startup.
- Use plugins that match your current 7 Days to Die version.
Install or update Oxide
- Open your 7 Days to Die server in the control panel.
- Click Stop.

- Click Backup Server and wait for the backup to finish.

- Open Mod Manager.
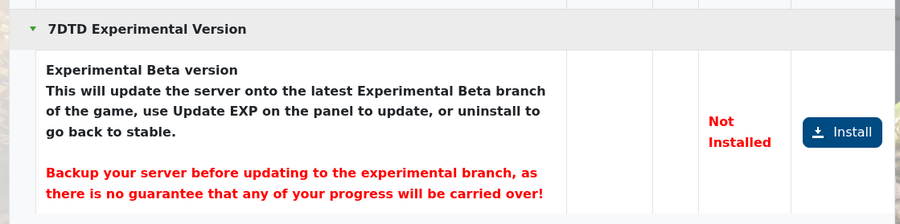
- Find the Oxide/uMod entry and click Install. If it is already installed and you need to update it, uninstall it and then install it again.
- Start the server once so Oxide can create its folders, then stop the server again before uploading plugins.
Upload plugins
- Open File Manager or connect by FTP/SFTP.
- Open the
/oxide/pluginsfolder. - Upload each plugin file into
/oxide/plugins. - Start the server.
- Open the console or log viewer and check that the plugins loaded without errors.
Configure plugins
Most Oxide plugins create configuration files after the server has started with the plugin installed. Edit the generated .json configuration files carefully, then restart the server or reload the plugin if the plugin supports reloads.
If the server fails to start after adding a plugin, remove the last plugin you uploaded and check the console/logs again. If you need help finding the failing plugin, submit a support ticket with the plugin name and the latest console output.
