Project Zomboid map mods usually need three values from the Workshop page: Workshop ID, Mod ID, and Map Folder. The map folder is added to the Map= line in servertest.ini.
- Back up the server before changing map or mod settings.
- Open the Steam Workshop page for the map mod.
- Copy the Workshop ID, Mod ID, and Map Folder listed by the mod author.
- Open Configuration Files, then edit
servertest.ini.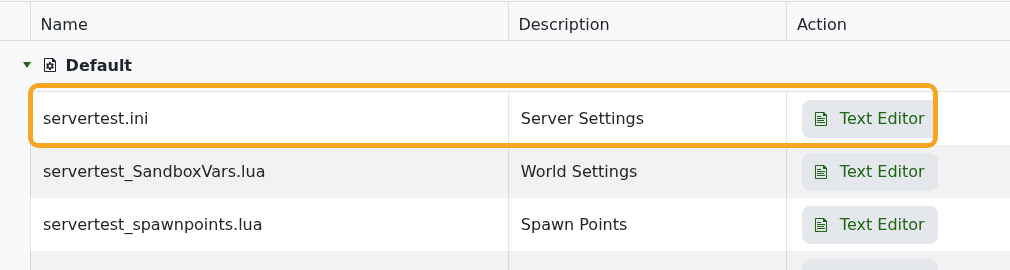
- Add the Workshop ID to
WorkshopItems=. - Add the Mod ID to
Mods=. - Add the map folder to
Map=. KeepMuldraugh, KYat the end unless the map author says otherwise.
- Click Save & Exit, then restart the server.
Example:
WorkshopItems=2881482488
Mods=FinneganMentalAsylum
Map=FinneganAsylum;Muldraugh, KY
If the server starts but the map is not available, check that the map folder name exactly matches the Workshop page. Map folder names are case-sensitive.
