Project Zomboid Workshop mods need two values from the Steam Workshop page: the Workshop ID and the Mod ID. The Workshop ID goes in WorkshopItems=, while the Mod ID goes in Mods=.
- Take a backup before adding or changing mods.
- Open the Steam Workshop page for the mod you want to install.
- Copy the Workshop ID and Mod ID from the mod page. Many Project Zomboid Workshop pages list these near the bottom of the description.
- Open your Project Zomboid server in the control panel.
- Click Configuration Files, then open
servertest.iniwith Text Editor.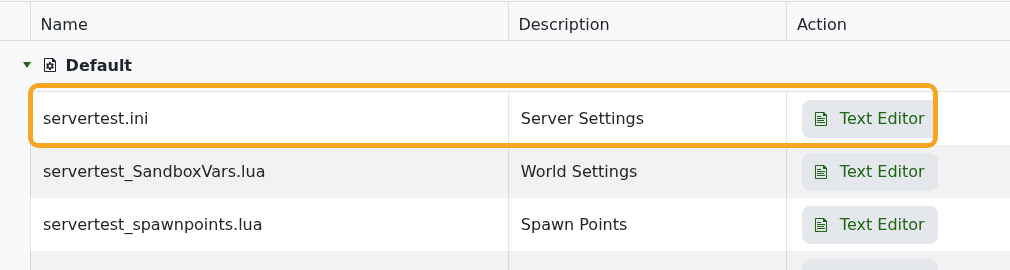
- Add Mod IDs to
Mods=, separated by semicolons.
- Add Workshop IDs to
WorkshopItems=, separated by semicolons.
- Click Save & Exit, then restart the server.
Example:
WorkshopItems=2886833398;1234567890
Mods=89fordBronco;AnotherModID
Keep the Workshop ID and Mod ID order matched where possible. If a mod has dependencies, add the dependency Workshop IDs and Mod IDs as well.