This guide will teach you how to install Sponge onto your Minecraft server, for using mods and plugins together.
Step 1
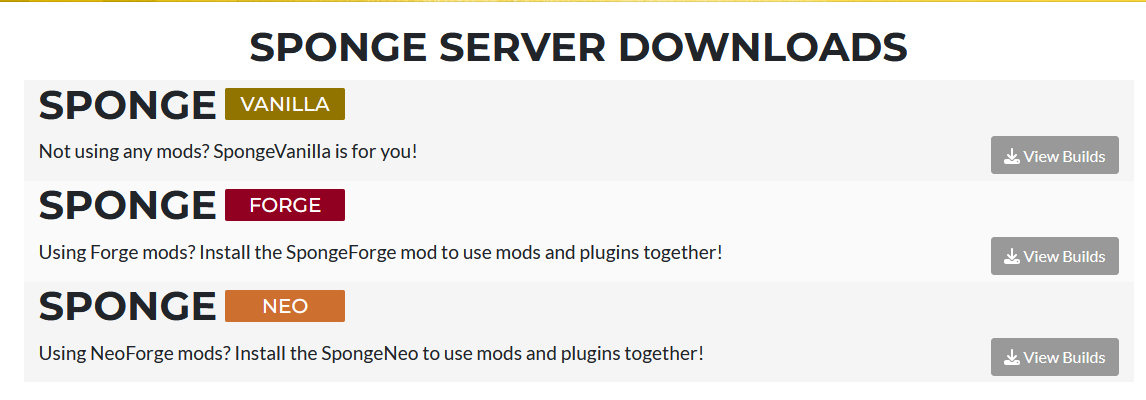
Find which version you are looking for on the Sponge website. If you wish to use Sponge Vanilla, you will need to submit a ticket and have a member of staff install that for you manually.
https://spongepowered.org/downloads/
Step 2
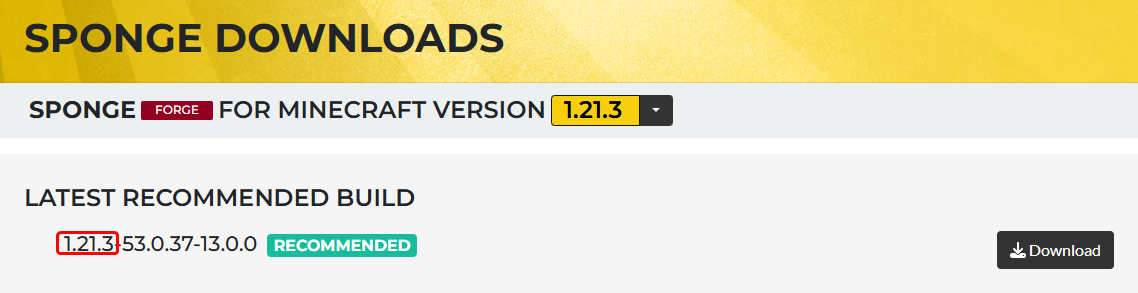
Take note of the version you install. You will want to make sure to remember the version number as this will be the version you select on your Minecraft dashboard.
Step 3
Navigate to your dashboard and select the same version as the one you have downloaded. If you download SpongeForge for 1.21.3, you’d select ‘Forge 1.21.3’

Step 4
Stop your server, and install the Sponge version you downloaded as if it were a mod. You can install mods by placing them in the mods folder of your FTP, with either a third-party client like Filezilla (recommended) or through our web manager.
If you don’t know how to set up a third-party FTP, you can use this article to help you set it up:
https://my.logicservers.com/knowledgebase/2/How-to-connect-to-FTP.html/How-to-connect-to-FTP.html
Step 5
Once you have completed all of the steps above, you should be able to install any Forge mods/plugins you wish to use together.
