This guide is going to teach you how to enable Voice Chat on your Minecraft server, something which can dramatically change the server experience, allowing interactions with other players that aren't just standing still typing or forcing everyone to join a Discord chat or TeamSpeak3 Server. This guide will show you how to install the Voice Chat mod on your Minecraft Server Hosting with us, note that these steps are for Fabric or Forge.
Before you start, make sure you Install Forge on your Minecraft Server, or if you're not using Forge, that you Install Fabric on your Minecraft Server.
Step 1
Download the mod version appropriate for your mod loader, in this case the one for Fabric or the one for Forge.
Step 2
Stop your server, and run a backup (just in case) on the backup section of the sidebar.

Step 3
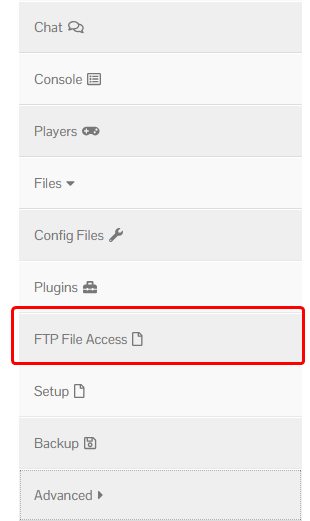
Go into the ‘FTP File Access’ tab, and log in.
Step 4
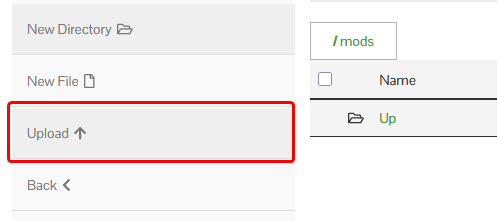
Once logged in, enter the folder named mods and click ‘Upload’, uploading the mod you had just installed. You can also drag and drop the mod in to the file manager instead of clicking the upload button.
If you do not have a folder named mods, you can create one using the ‘New Directory’ button.
Step 5
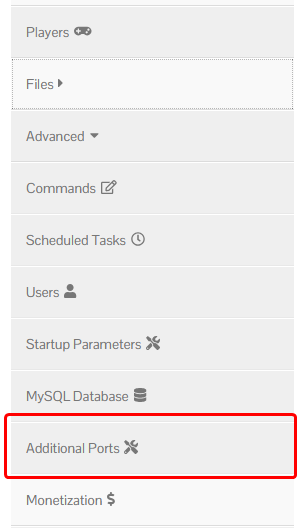
Go back to your dashboard, and open the ‘Additional Ports’ tab.
If you do not see the tab, please submit a ticket.
Step 6
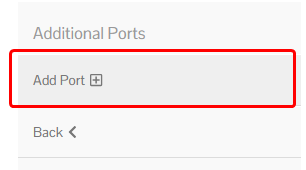
Click the ‘Add Port’ button to the left, and copy the port it opens.
Step 7
Start your server, and allow it to fully start up. Once it has started, stop it once more. This is done to generate the config for the Voice Chat mod.
Step 8
Enter the FTP File Access once more, but instead go to the config folder.
Once there, enter the voicechat folder. Click the three dots next to the voicechat-server.properties, then click ‘Edit’.
Step 9
On the port= line, replace the port with the one opened in Step 6.

Step 10
Start your server.
