Simple Voice Chat needs two things on a Minecraft server: the server plugin or mod, and a UDP port for voice traffic. Players also need Simple Voice Chat installed on their own Minecraft client.
Install Simple Voice Chat
- Download Simple Voice Chat from Modrinth: Simple Voice Chat on Modrinth.
- For Paper, Spigot, Purpur, or Bukkit servers, download the Bukkit/Paper plugin jar.
- For Forge, NeoForge, Fabric, or Quilt servers, download the matching mod file instead.
- Open Files in the control panel, then open the correct folder.
- Use
pluginsfor Paper, Spigot, Purpur, or Bukkit. - Use
modsfor Forge, NeoForge, Fabric, or Quilt.
- Use
- Upload the Simple Voice Chat jar file into that folder.
- Do not extract the jar file.
- You can stop the server first if you prefer, but it is not required for uploading the file.
- Start or restart the server so the plugin can create its config files.
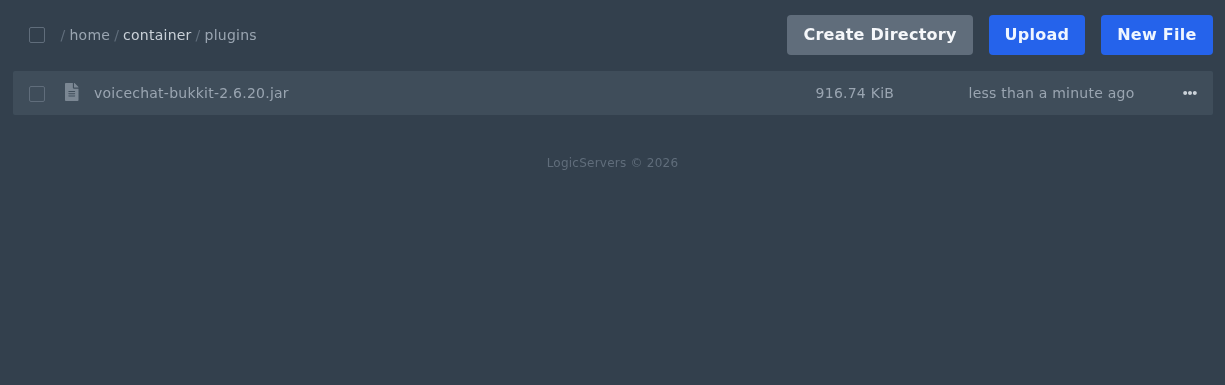
Choose A Voice Chat Port
- Open Network in the control panel.
- Create a new allocation, or use an existing extra allocation if one is already listed. Do not use the main Minecraft port.
- If you need help creating one, see this guide: How to get an additional port allocation on Ptero.
- If you cannot create another allocation, submit a support ticket and we can check it for you.
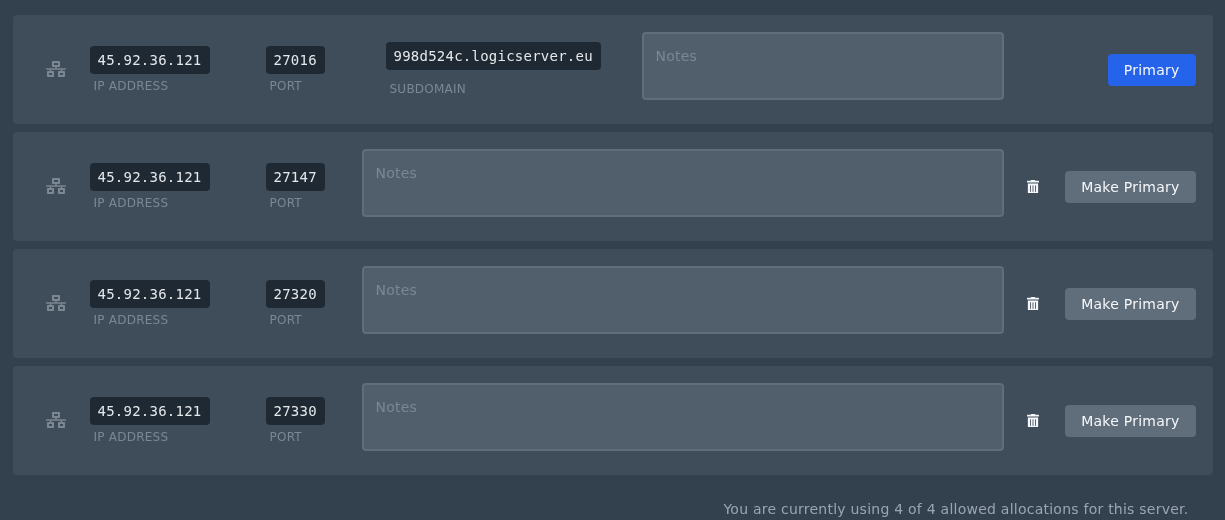
Edit voicechat-server.properties
- Open Files, then open the generated Simple Voice Chat config folder.
- Paper, Spigot, Purpur, or Bukkit:
plugins>voicechat - Forge, NeoForge, Fabric, or Quilt:
config>voicechat
- Paper, Spigot, Purpur, or Bukkit:
- Click
voicechat-server.propertiesto open it in the text editor.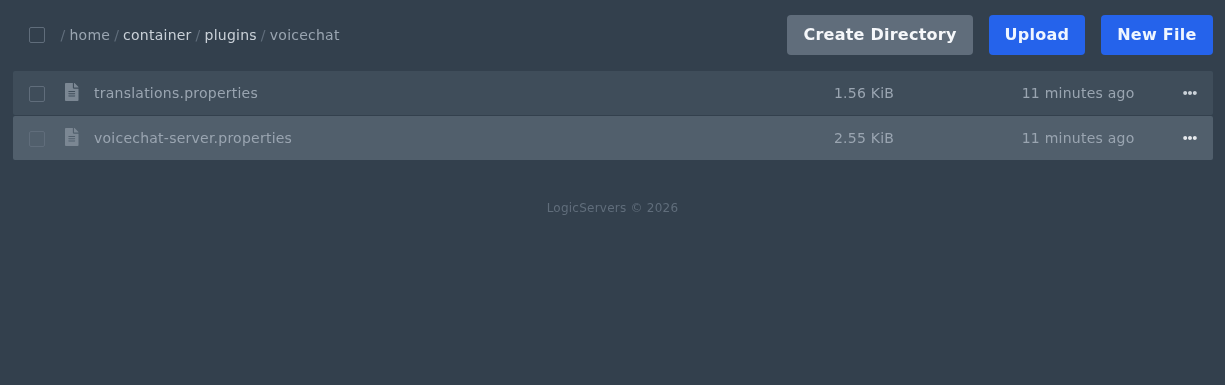
- Find
port=and set it to the extra Network port you chose:port=27147
- Save the file, then restart the server.
Leave
bind_addressandvoice_hostblank unless support asks you to change them. The important setting for most servers is theportvalue.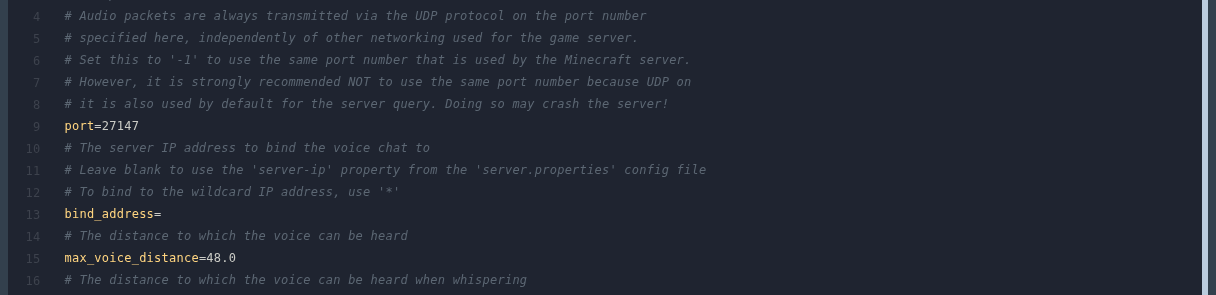
Test Voice Chat
Install Simple Voice Chat on your Minecraft client, then join the server. You can test a player connection in game with:
/voicechat test PlayerName
If voice chat does not connect, check that the port in voicechat-server.properties matches the extra Network allocation. Simple Voice Chat uses UDP, so normal web-based port checkers may not show it correctly.
