How to change the name of your Windrose server
This guide will walk you through the process of setting a name for your Windrose server. This will allow you to set a custom name that will show up when someone wants to join your server from inside the game.
Don’t have an Windrose server yet? Get yours here - Logic Servers Windrose Server
- Login to your TCAdmin control panel:
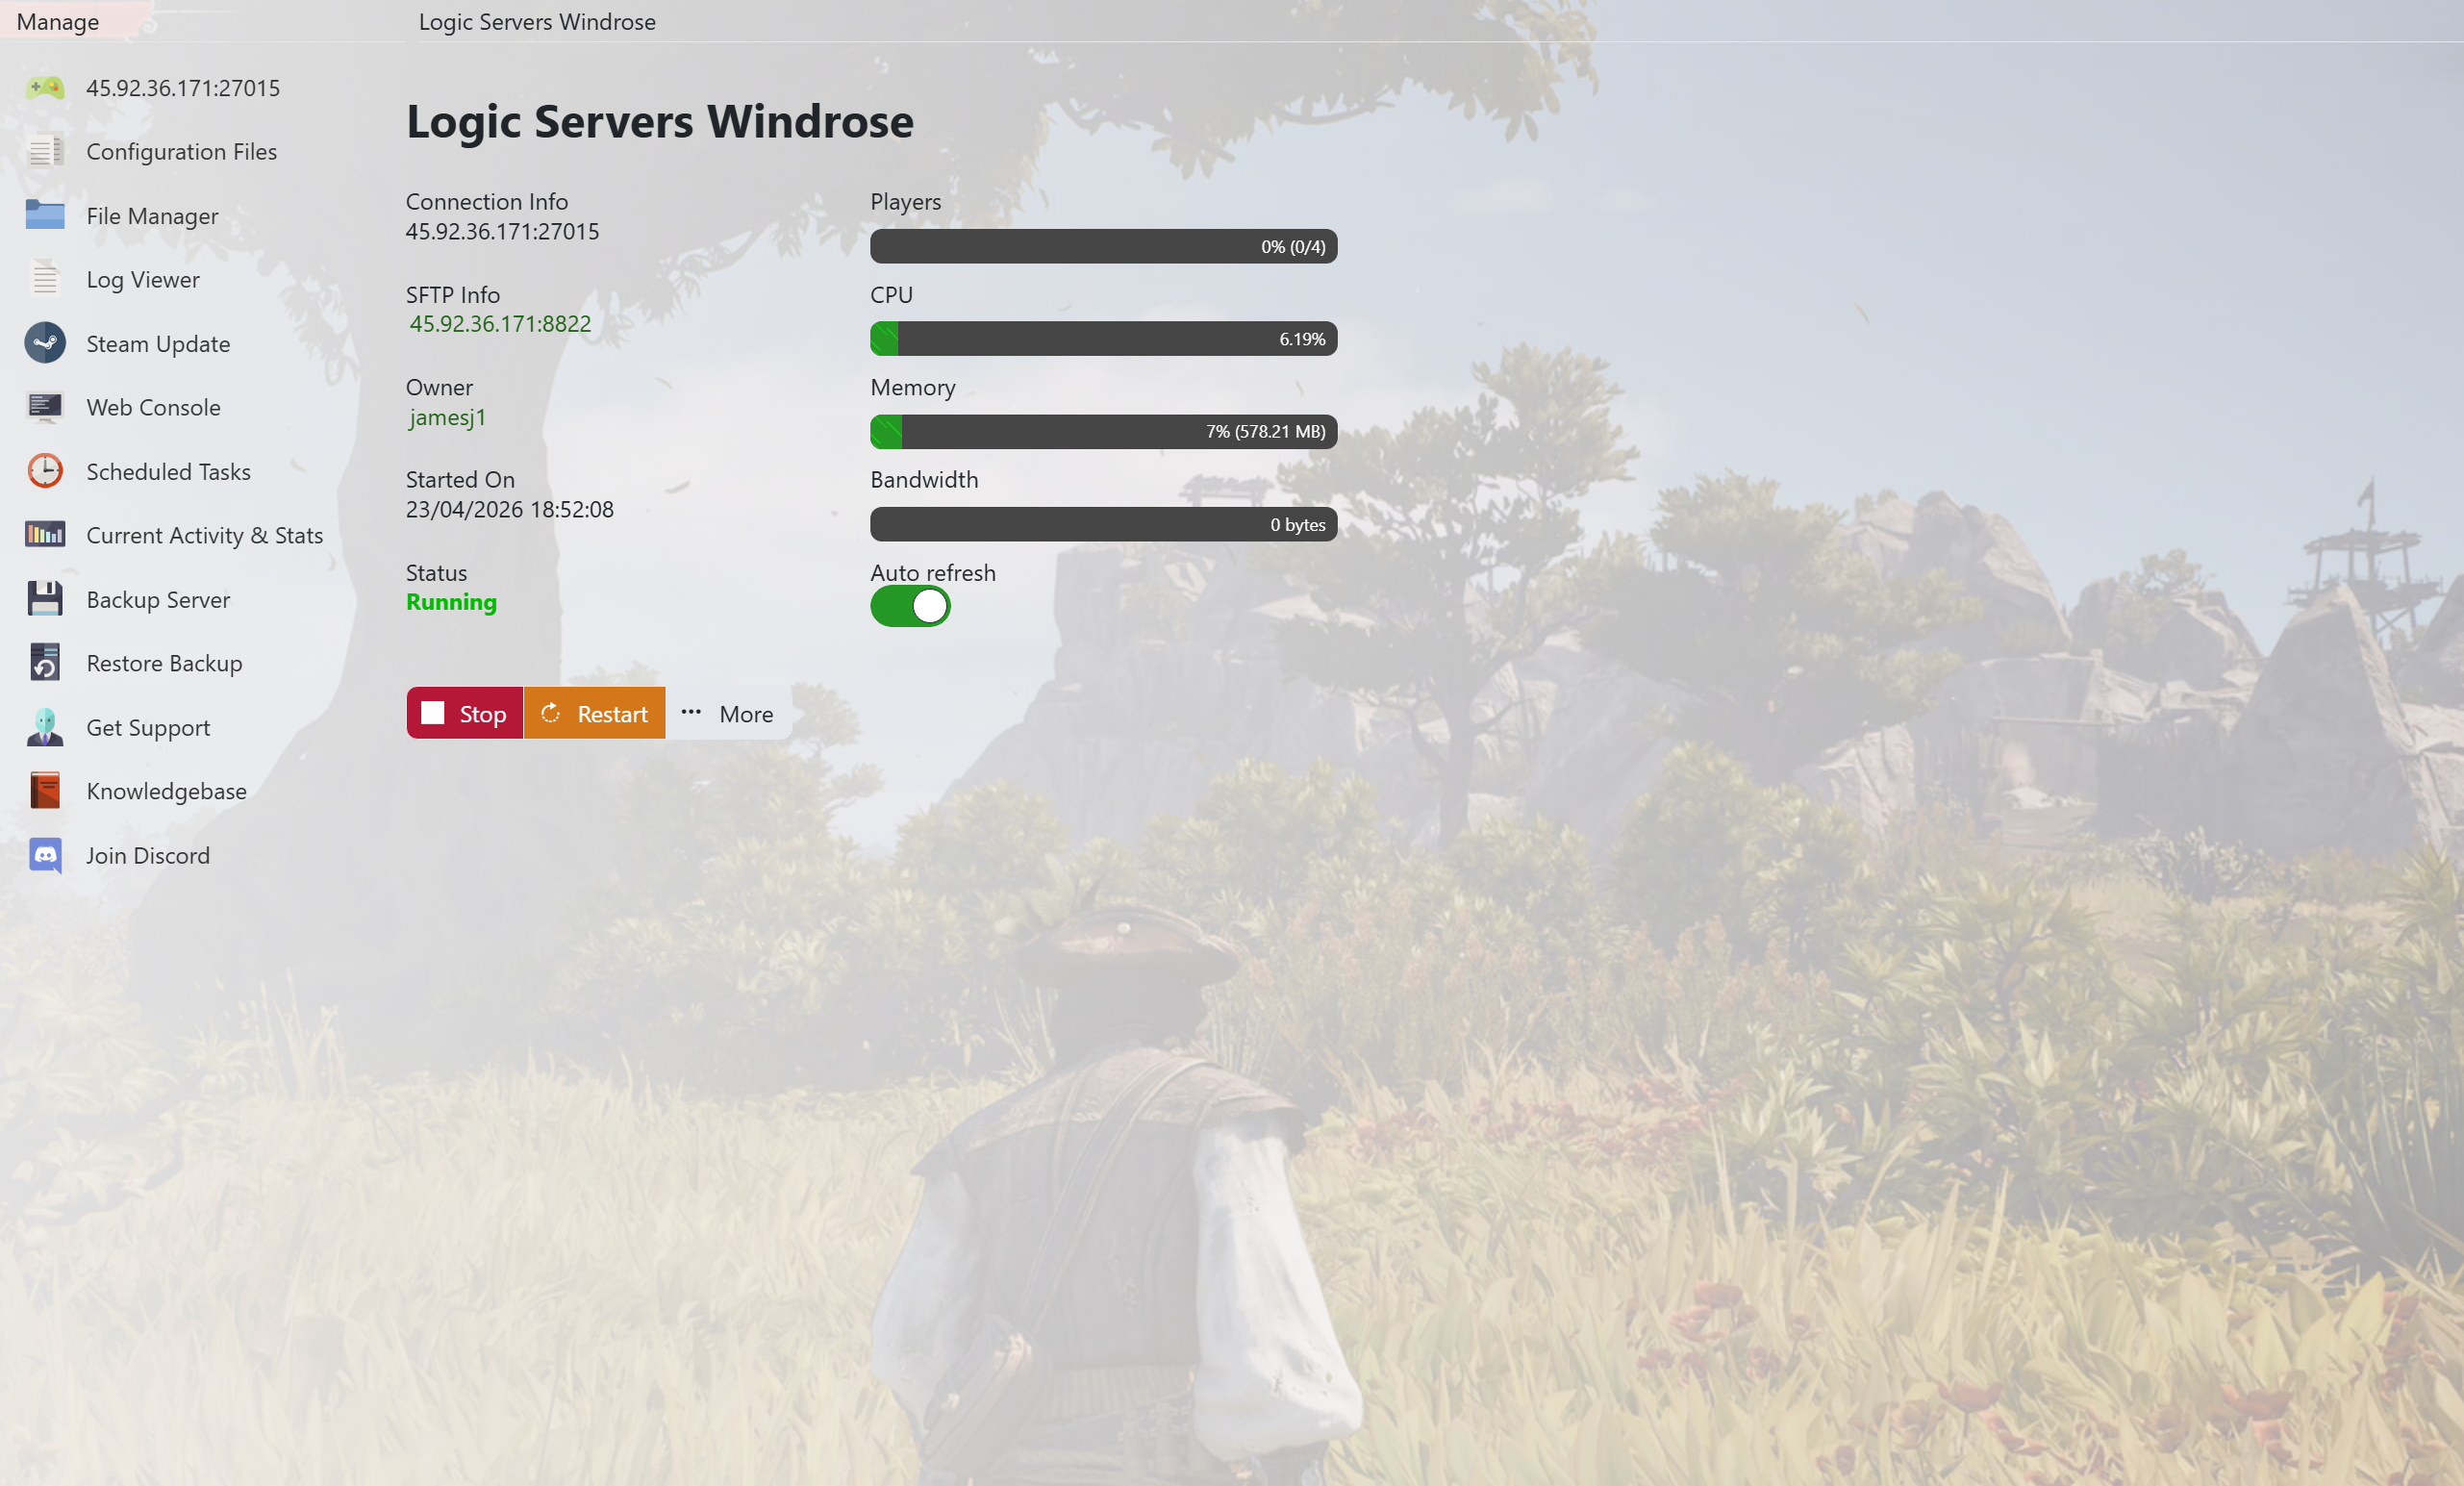
- When you purchased your Windrose server with us you will have been sent your login details via email. Use those details to login to your TCAdmin control panel. When you are logged into your panel you will see various options available to you. From here you can control your server.
- Stop your server:
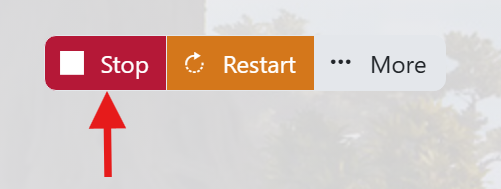
- Before making any changes to your server press the stop button. This can be found underneath your server's connection details in the top left hand side. Pressing Stop will shutdown your server ready for you to make any changes.
- Backup your server files:

- It is always good practice to make a backup of your server before you make any changes. This will give you the option to restore back if you make any mistakes. To backup your server press the ‘Backup Server’ button on your panel. The buttons icon represents a disk.
- We also have a separate guide here on backing up your Windrose server - How to backup your Windrose Server
- Open your configuration Files section:

- Press the ‘Configuration Files’ button on your panel. The icon is two sheets of paper. Once you have pressed this it will take you to the next screen ready to edit your server settings.
- Edit your config file:

- Locate your config file called ‘ServerDescription.json’ and to the right of that press the ‘[Config Editor]’ button. This will then open up the settings available to change on your server.
- Change your server name:
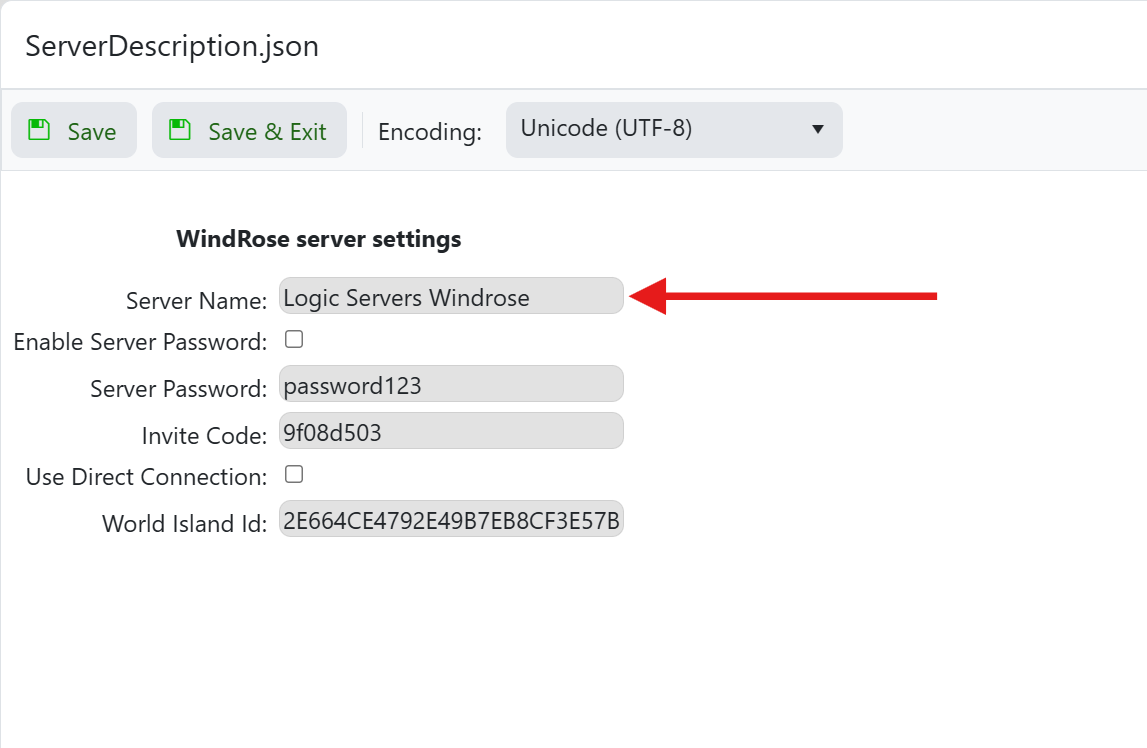
- Look for the box labelled ‘Server Name’ and put the name in there that you want your server to be called. When you are finished press the ‘Save & Exit’ button above. This will save the new name and put you back to the main TCadmin page.
- Start your server:
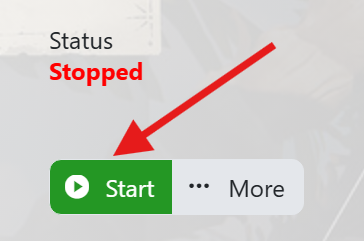
- Now that you are finished naming your server you can press the ‘Start’ button on your TCadmin control panel. This will start your server and your new name will show up when you join your server.
Your server’s display name has now been changed. You and your friends will now be able to join the server from within the game and locate it using the new name. Please check out our other guides for Icarus or if you require any further support feel free to open a ticket and we will be happy to help.
