Pixelmon is installed as a Minecraft modpack, so the server and anyone joining it need to use the same Pixelmon pack and version.
Before installing Pixelmon on an existing server, stop the server and take a backup. Installing a modpack can replace files, so a backup gives you something to restore if you need to roll back.
Installing Pixelmon
- Open your Minecraft server in the control panel, then click Modpacks from the server menu.
- Find Pixelmon Mod. You can use the search box if needed.
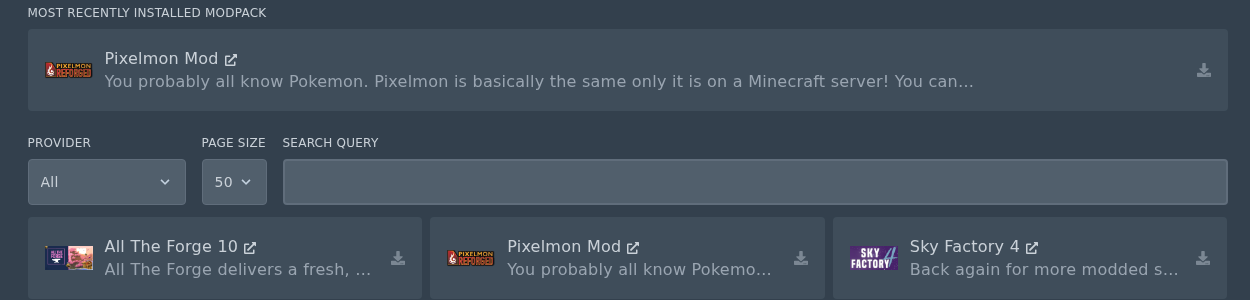
- Click the Install icon on the Pixelmon Mod pack.
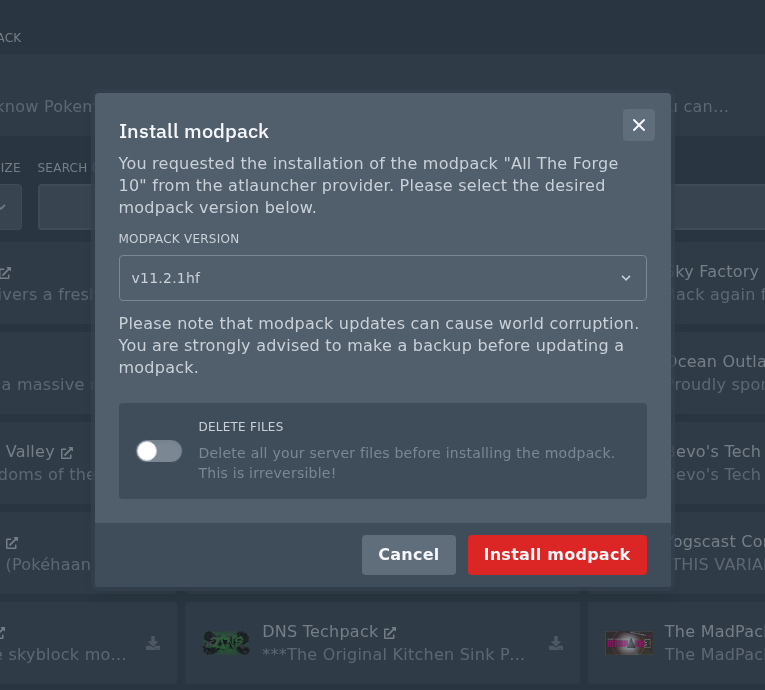
- In the install window, select the Pixelmon version you want to install. Do not check the Delete Files box if you do not want to wipe the server. Make sure you have taken a backup first, then click Install modpack.
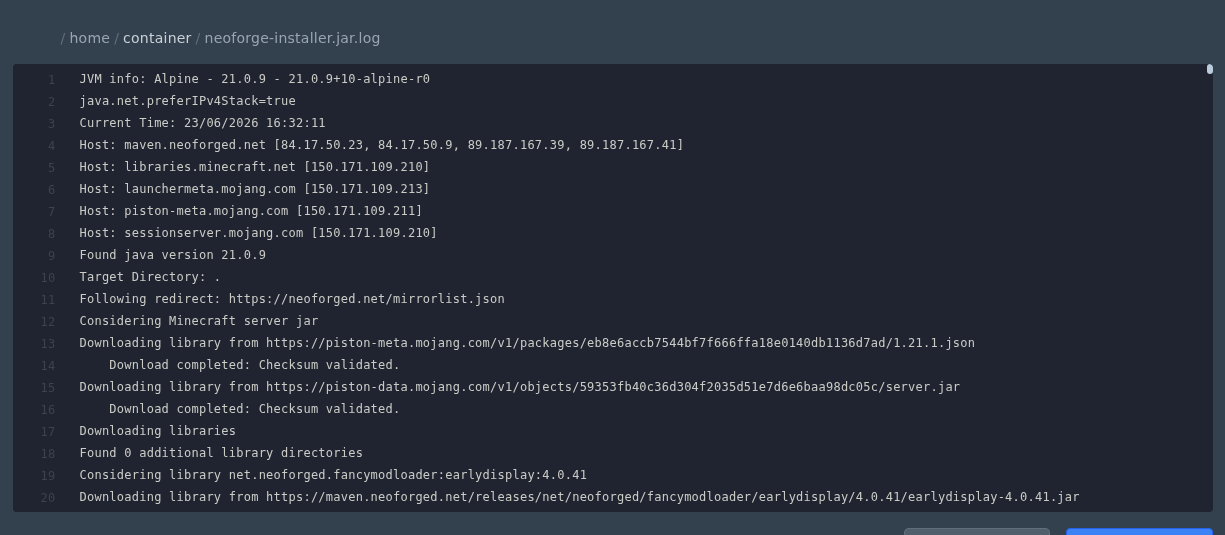
- Wait for the modpack installer to finish. If you need to check the install output, open the generated installer log from File Manager.
- Start the server again once the install has completed.
Players will need to install the same Pixelmon pack on their own Minecraft launcher before joining. If the client and server versions do not match, Minecraft will usually show a mod mismatch or incompatible version error.
If the server does not start after installing Pixelmon, check the console for the first error shown. The most common causes are a failed install, an old world that is not compatible with the pack, or a client/server version mismatch.
