Rust admin access lets a trusted player run server commands, moderate players, save/write config changes, and manage the server from the in-game F1 console, Web Console, or RCON. Add your SteamID64 to users.cfg as an owner, then restart the server so Rust loads the admin entry.
- Find your SteamID64 using steamid.io or this guide: How to find your personal Steam ID64 number.
- Open your Rust server in the control panel.
- Click Configuration Files.
- Find
users.cfg, then click Config Editor.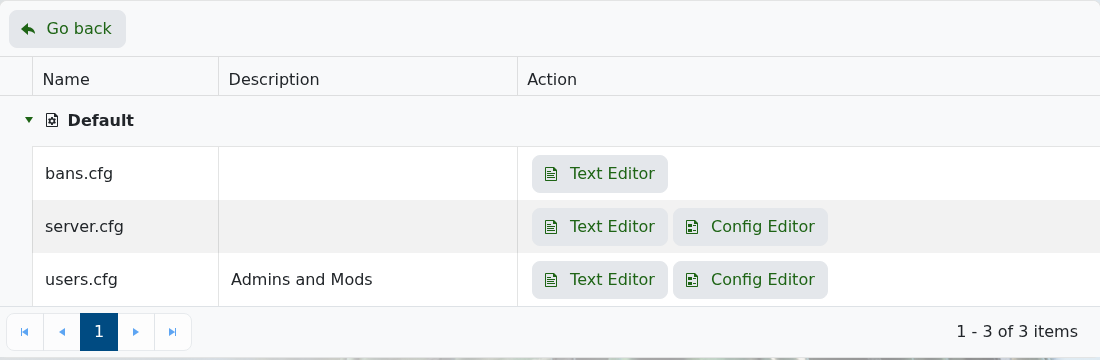
- Click Add Admin. This adds a new admin row with fields for Steam ID 64, Name, and Reason, plus a Delete Admin button next to that row.
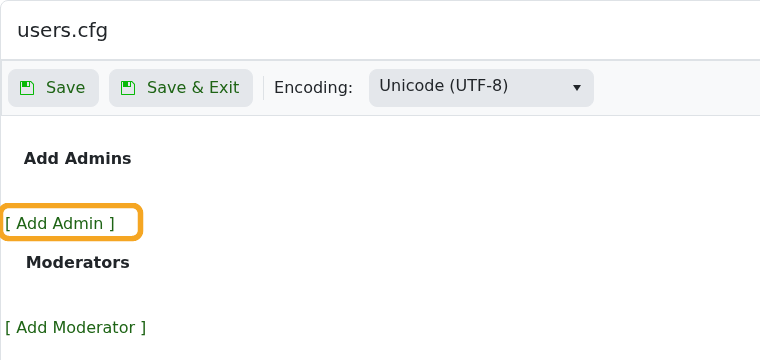
- Enter the SteamID64, player name, and a short reason such as
server owner. - Click Add Admin again if you need to add more owners. Use Add Moderator the same way if you want a lower-access moderator entry instead.
- If you use Text Editor instead, add an owner entry in this format:
ownerid STEAMID64 "PlayerName" "server owner"
- Click Save & Exit.
- Restart the server so the admin entry is applied.
- After changing admins in-game, run
server.writecfg.
After becoming admin, use Commands for Rust for common moderation, save, restart, and uMod permission commands.
