A whitelist lets only approved players join your Minecraft server. This is useful if you want a private server without relying only on a server password or hidden address.
Turn on the whitelist
- Start the server, then open Console in the control panel.
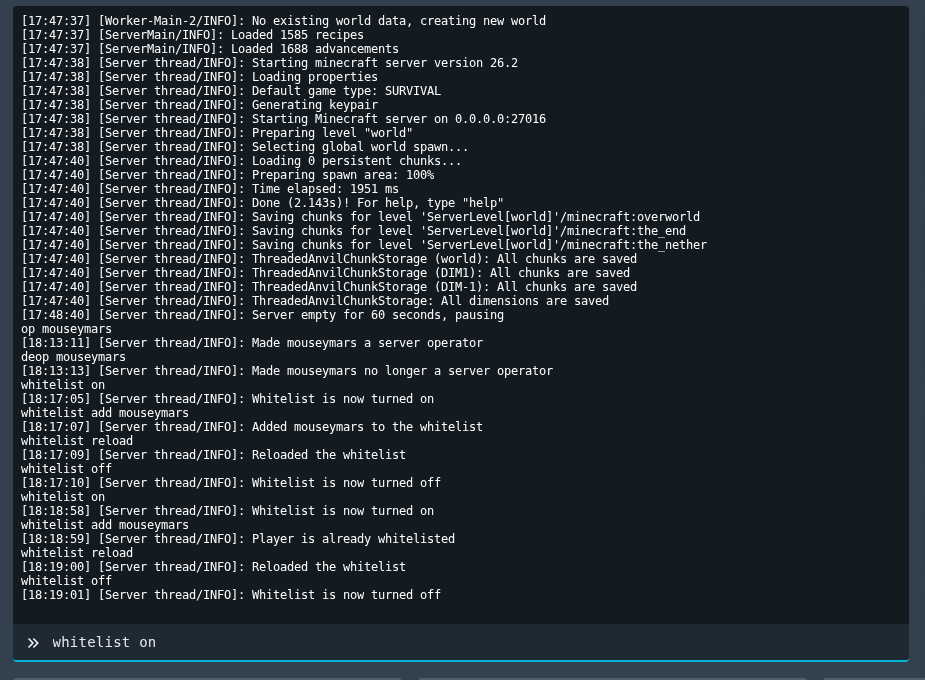
- Turn the whitelist on:
whitelist on
- Add each player you want to allow. Replace
PlayerNamewith their exact Minecraft username:whitelist add PlayerName
- If you edited whitelist files manually, reload the whitelist:
whitelist reload
To turn the whitelist off later, run whitelist off. If a player still cannot join after being added, check that their username is typed correctly and that they are using the same Minecraft edition as the server.
Check the player identifier
Use the exact identifier the game expects, such as a username, SteamID64, UUID, or player ID. Copy it carefully, because one wrong digit or character can apply the change to the wrong player or stop it working.
After making the change
Restart the server if the game requires it, then test with the affected player. If the change does not apply, check the console or log output for permission or formatting errors.
