Windows Firewall controls which inbound connections are allowed into your Windows VPS. If you install a game server, web service, database, or remote tool, you may need to allow its port before players or users can connect.
Only open the ports your software actually needs. Opening extra ports increases the amount of traffic that can reach the VPS.
Open a port with PowerShell
- Connect to the Windows VPS using Remote Desktop or the VPS console.
- Open PowerShell as Administrator.
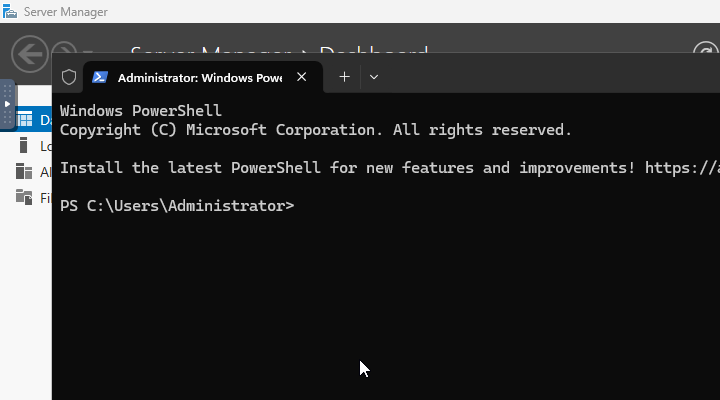
- Run a command like this, replacing
7777with the port you need:
New-NetFirewallRule -DisplayName "Allow TCP 7777" -Direction Inbound -Protocol TCP -LocalPort 7777 -Action Allow
For a UDP port, change -Protocol TCP to -Protocol UDP:
New-NetFirewallRule -DisplayName "Allow UDP 7777" -Direction Inbound -Protocol UDP -LocalPort 7777 -Action Allow
Some game servers need more than one port. Add one rule per port/protocol, or use a comma-separated list if the same protocol applies to all of them:
New-NetFirewallRule -DisplayName "Allow Game Ports" -Direction Inbound -Protocol UDP -LocalPort 7777,7778,27015 -Action Allow
Check the port
Start the software that listens on the port, then test from outside the VPS. A firewall rule alone does not make a port respond; the service must also be running and listening on that port.
If your VPS also has a panel firewall plan applied, make sure the panel firewall allows the same port as well. Windows Firewall and panel-level firewall rules can both affect access.
