Upload a Valheim world when you want your server to run a world from your own PC or another Valheim host. You need the world's .db and .fwl files, then the World setting in server.bat must match that file name exactly.
- On your PC, open File Explorer, click the address bar, type
%AppData%, and press Enter. - Go up one folder to
AppData, then openLocalLow\IronGate\Valheim\worlds. The full path is normally%AppData%\..\LocalLow\IronGate\Valheim\worlds. - Find the two files for the world you want to upload:
WorldName.dbandWorldName.fwl. You do not need to upload the.oldfiles. - Open your Valheim server in the control panel.
- Take a backup if the server already has a world you may need later.
- Stop the server so uploaded save files are not overwritten.
- Open File Manager.
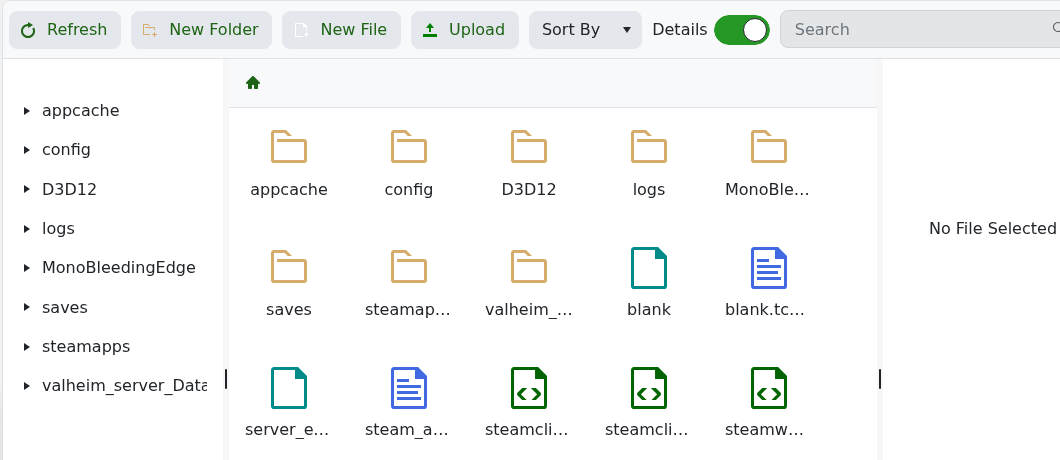
- Open
saves.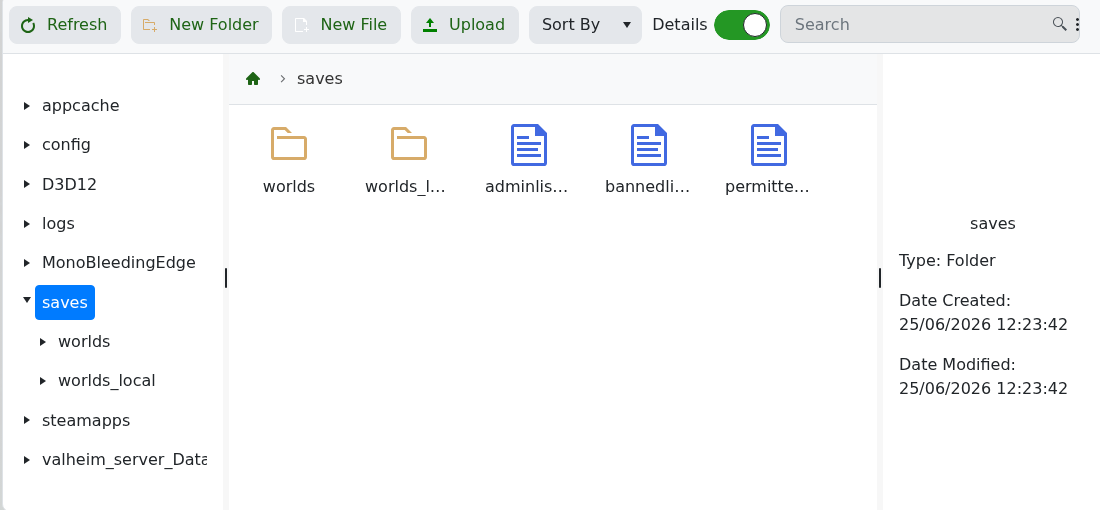
- Open
worlds. Ifworldsdoes not exist, create it with New Folder or start the server once to let Valheim create it.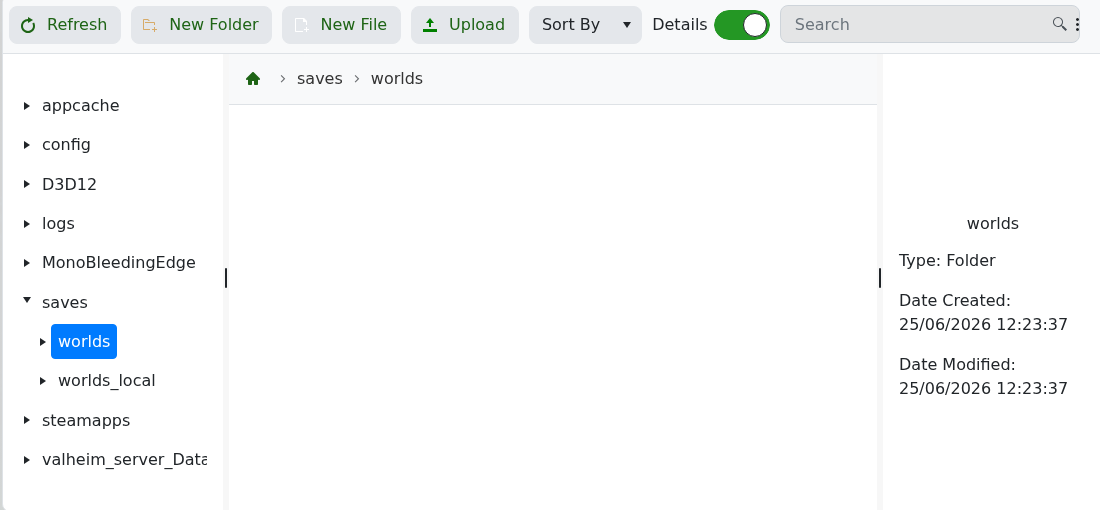
- Click Upload, then upload the matching
.dband.fwlfiles. - Click Configuration Files, then open
server.batwith Config Editor.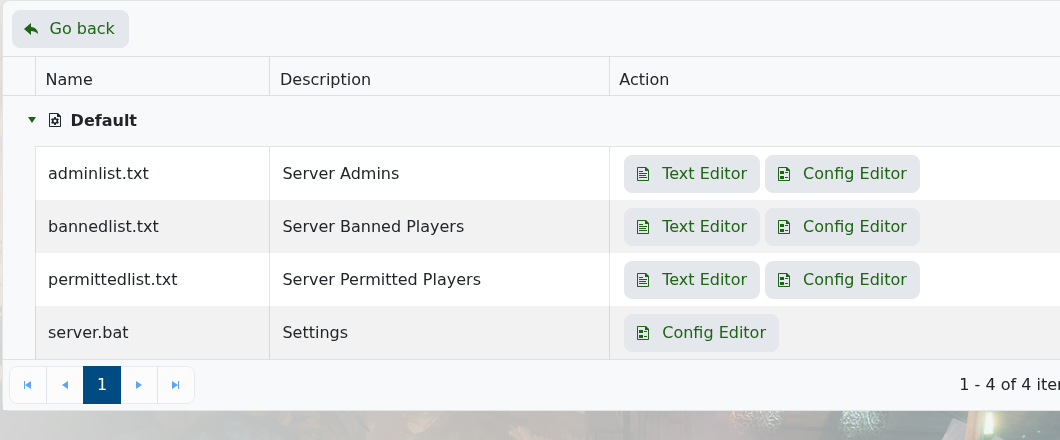
- Set World to the uploaded world name without
.dbor.fwlon the end.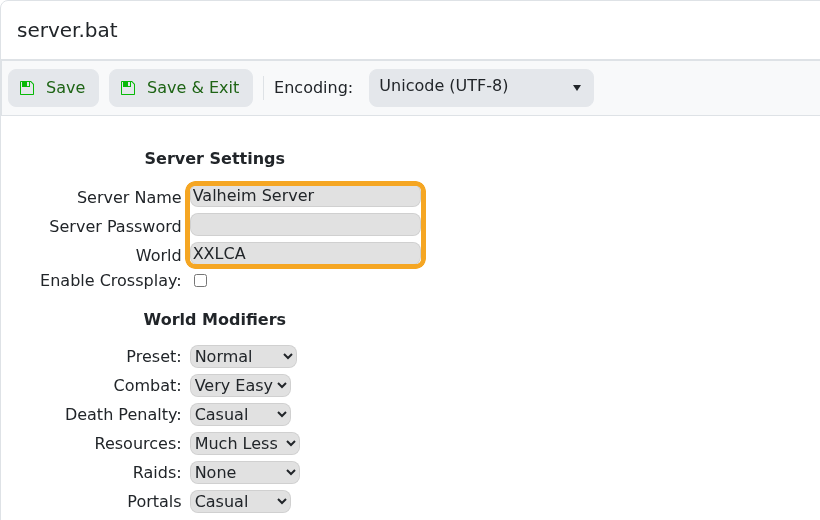
- Click Save & Exit, then start the server.
If Valheim generates a new world instead, the uploaded file path or the World value is wrong. Stop the server and check that the file name and world setting match exactly.
