Give your Fear the Night server a recognisable name so your players can find the right entry in the server list.
- Open your Fear the Night server in the game control panel and click Stop. Wait until its status is Stopped.
- Open Configuration Files and click Text Editor beside
GameUserSettings.ini.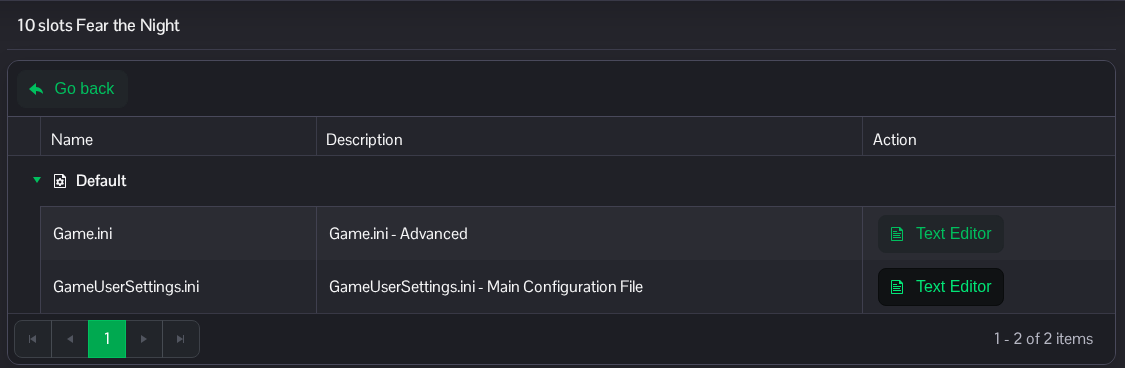
- Find
[SessionSettings]. Change the existingSessionNameline. Keep the section heading and the rest of the file in place.[SessionSettings] SessionName=Fear the Night Community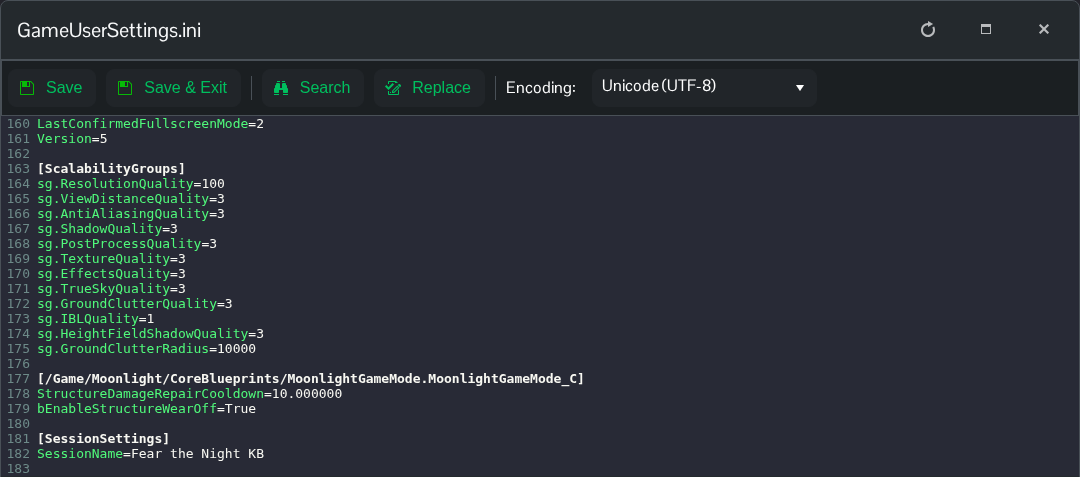
- Click Save & Exit, return to the server page and click Start. Refresh the server list to see the new name.
You can also reach this file through File Manager at Saved/Config/WindowsServer/GameUserSettings.ini. FTP is another option if you prefer to edit a downloaded copy.
