Give your Outpost Zero server a recognisable name in the server browser.
- Stop your Outpost Zero server and wait for Stopped.
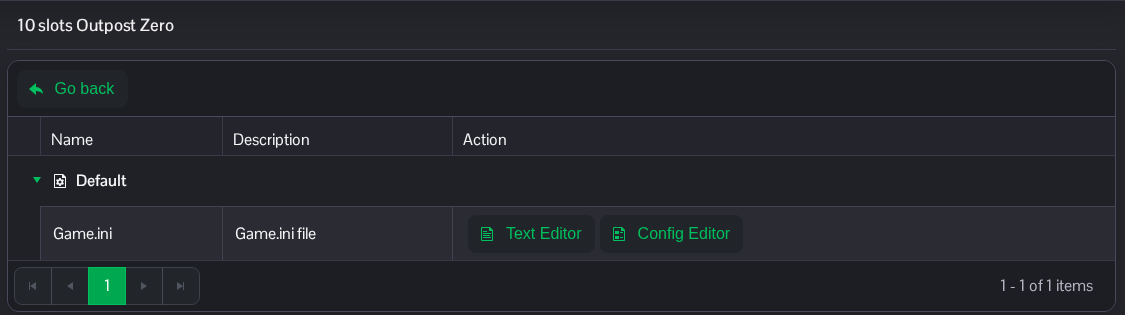
- Open Configuration Files and click Text Editor beside Game.ini.
- Under
[ServerSettings], changeServerNameto the name you want. Keep other settings in place. If the section is missing, add it once at the end of the file.[ServerSettings] ServerName=Outpost Zero Community
- Click Save & Exit, then start the server.
Refresh the server browser after the restart to look for the new name.
You can also open the same file in File Manager at Saved/Config/WindowsServer/Game.ini. FTP is an alternative for transferring a local copy.
