Run Steam Update to download and validate the installed Outpost Zero dedicated server files.
- Stop the server and create a backup. Download your current
Saved/Config/WindowsServer/Game.inithrough File Manager as a separate settings copy. FTP is an alternative. - Open Steam Update. The job can start when the page opens, so open it once your players have finished.
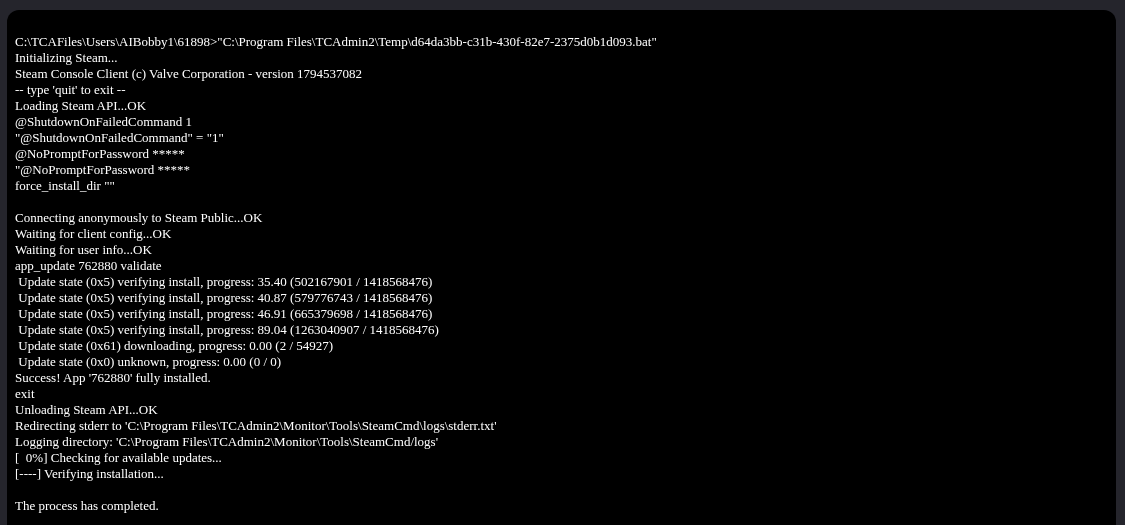
- Wait for SteamCMD to report that the application is fully installed and the process has completed. Do not submit another update while it is running.
- Open Configuration Files and choose Text Editor beside
Game.ini. If your settings have changed, replace the contents with the full file you downloaded, then click Save & Exit. - Start the server and check its name and latest
SurvivalGame.log. Update the game client before reconnecting if Steam offers an update.
To recover settings after an update, use your separate Game.ini copy. A full panel backup also contains older game files, so restoring it would roll those files back.
