Temporarily move Game.ini aside to test the installed server settings. Retain the edited file so you can recover it afterwards. This changes configuration, so keep a separate backup first.
- Stop your server and wait for Stopped.
- Open File Manager, go to
Saved/Config/WindowsServerand downloadGame.ini. FTP is an alternative for keeping a local copy. - Right-click
Game.ini, choose Rename, change its full name toGame.ini.previousand press Enter.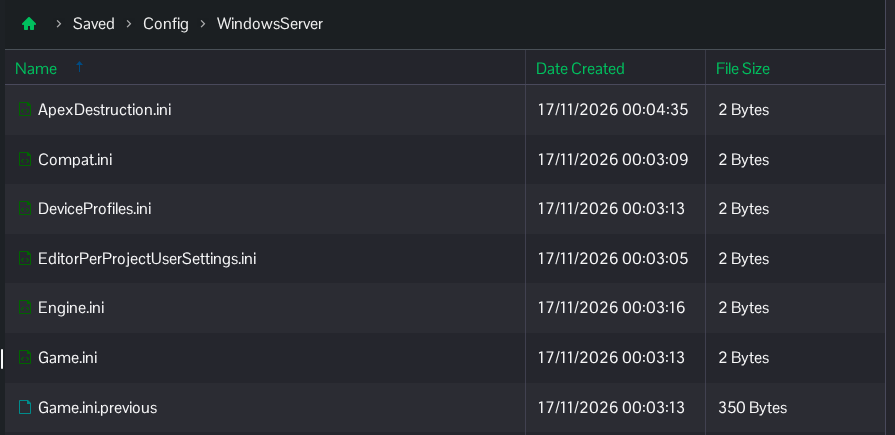
- Start the server. It creates a new
Game.iniand uses its installed settings; an uncustomised server name appears as Outpost Server.
To recover your retained settings, stop the server, open Configuration Files and choose Text Editor beside Game.ini. Replace its contents with the full contents of the Game.ini you downloaded before the reset, then click Save & Exit. Start the server and check your server name again.
