Mods need the right mod loader before the mod files are uploaded. Install Forge, NeoForge, Fabric, or Quilt first, then upload mods that match the same Minecraft version and loader.
Before uploading mods, install the mod loader your mods or modpack needs. For Forge and NeoForge, see How to install Forge or NeoForge on your Minecraft server. For Fabric or Quilt, see How to install Fabric or Quilt on your Minecraft server.
Upload the mods
- Open File Manager and go into the
modsfolder. - Drag and drop your mod
.jarfiles into the folder. The screenshot below shows example mod files in themodsfolder. You can also use SFTP with FileZilla for larger uploads.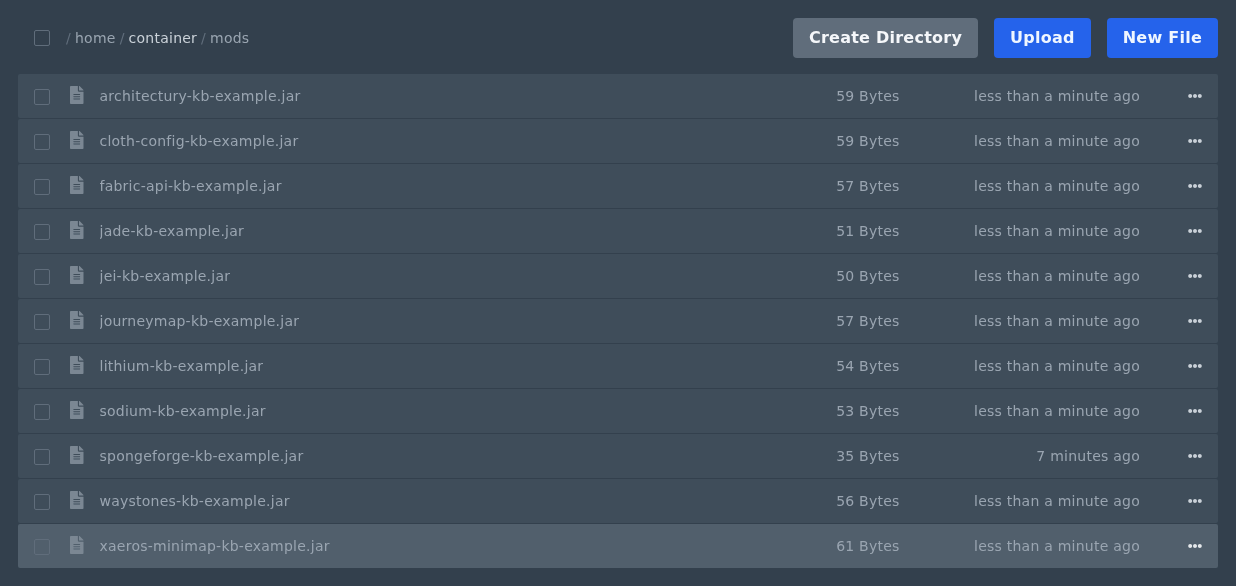
- Start the server and check Console for missing dependency or version errors.
Only upload server-side mods to the server. Client-only mods, mismatched Minecraft versions, or missing dependency mods can stop the server from starting.
Quickly disable a mod
If you need to test whether a mod is causing a startup issue, rename the file and add .disabled after .jar. For example, rename examplemod.jar to examplemod.jar.disabled, then restart the server.
This keeps the file on the server but stops it loading as a normal mod jar.
