Forge and NeoForge are Minecraft mod loaders used by many modded servers and modpacks. Use the loader required by your mods or modpack, then install the matching Minecraft version from the panel.
Install Forge or NeoForge
- Open your Minecraft server in the control panel, stop the server, and take a backup if the server already has a world or files you want to keep.
- Open Versions from the left menu. The Java installer list includes Forge and NeoForge options where available.
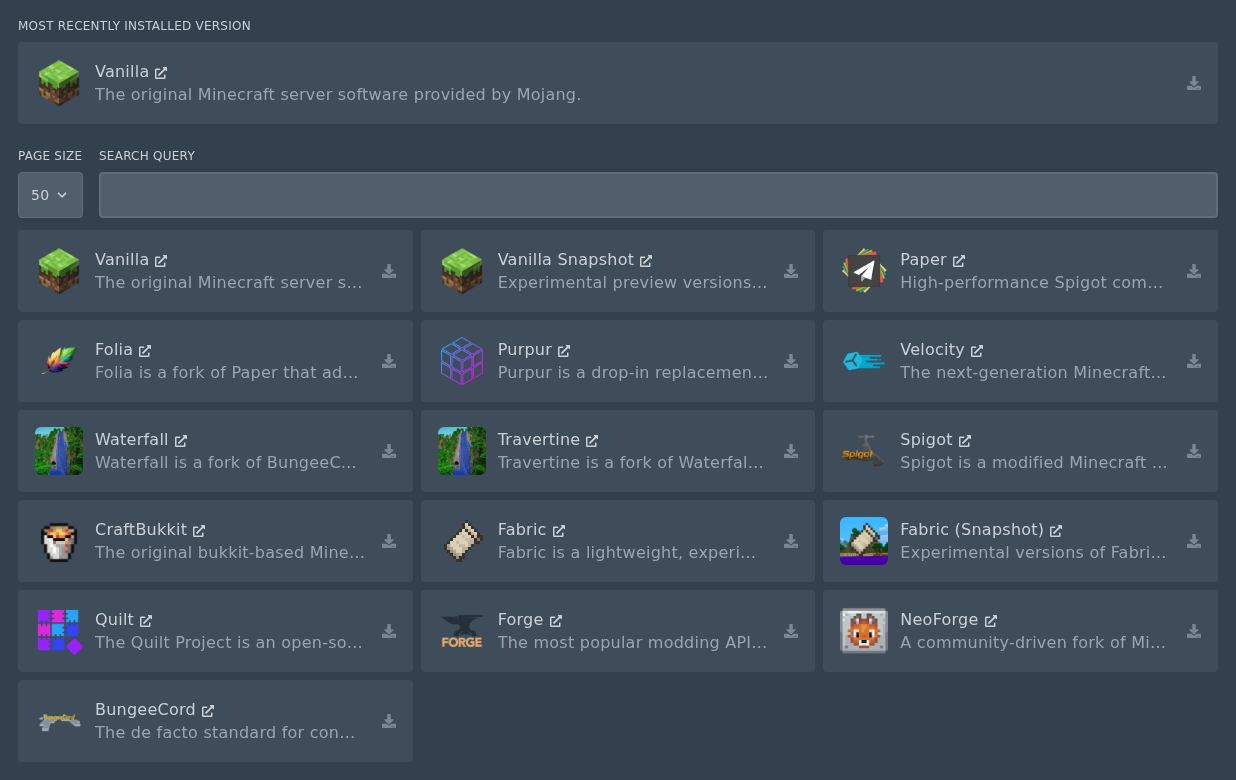
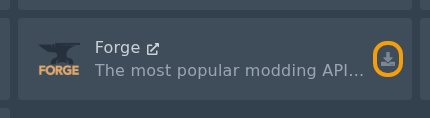
- Locate the Forge or NeoForge installer card, then click the install icon on the right.
- Select the Forge or NeoForge build required by your mods or modpack. Do not check the Delete files box unless you want to wipe your server.
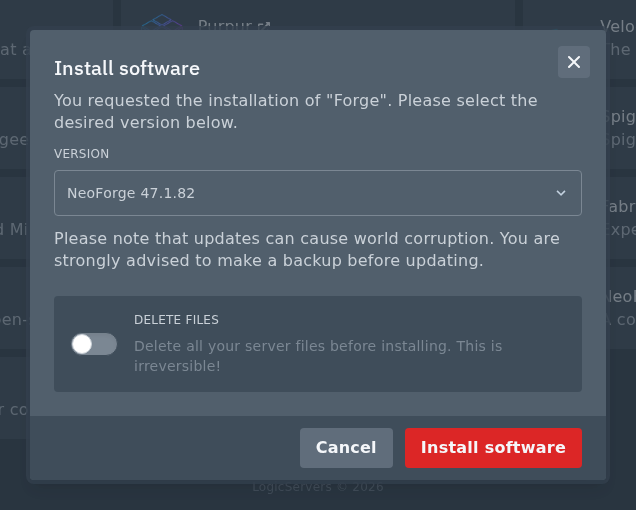
- Click Install software, wait for the install to finish, then restart the server once so the folders are created.
After installation
Upload your mod files to the mods folder, then restart the server and check Console. If the server crashes, the most common causes are the wrong Minecraft version, the wrong loader, or a missing dependency mod.
Forge mods and NeoForge mods are not always interchangeable. Use the loader named by the mod or modpack author.
After Forge or NeoForge is installed, see our mod upload guide here: How to install mods on your Minecraft server.
