Some Minecraft plugins and setups need an extra port. This is common for Simple Voice Chat, web maps, query tools, and proxy setups.
If you are setting up Simple Voice Chat, use this guide instead: How to set up Simple Voice Chat on your Minecraft server.
Create the extra port
- Open your Minecraft server in the control panel, then open Network.
- Click Create Allocation to add another port to the server. If the button is not available, you may already be using all allowed allocations. You can upgrade your allocation limit from the client area, or submit a support ticket if you are not sure what you need.
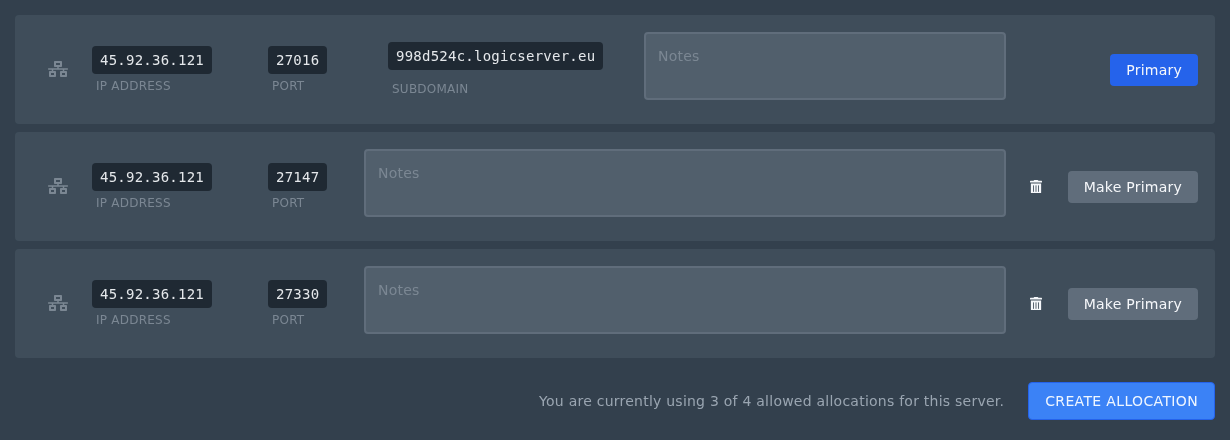
- Use the IP address and port from the new allocation in the plugin, mod, or proxy config that asked for an extra port.
- Restart the server after changing the plugin or server config file.
Primary allocations
You normally do not need to click Make Primary for a Minecraft plugin. The primary allocation is your main Minecraft server address, and your panel subdomain points to that primary allocation.
If you do change the primary allocation, restart the server afterwards. To change the subdomain itself, use this guide: Creating a custom subdomain on the Ptero panel.
