ASKA dedicated servers load an existing world from the save ID in server properties.txt. If the save ID does not match the uploaded save folder, ASKA can generate a new savegame_ folder instead of loading your existing world.
- Open your ASKA server in the control panel and stop the server.
- On your PC, put the ASKA save into a ZIP file. Keep the save folder name as it is, for example
savegame_a1d2a_190126234844. - Click File Manager, then open the
savefolder.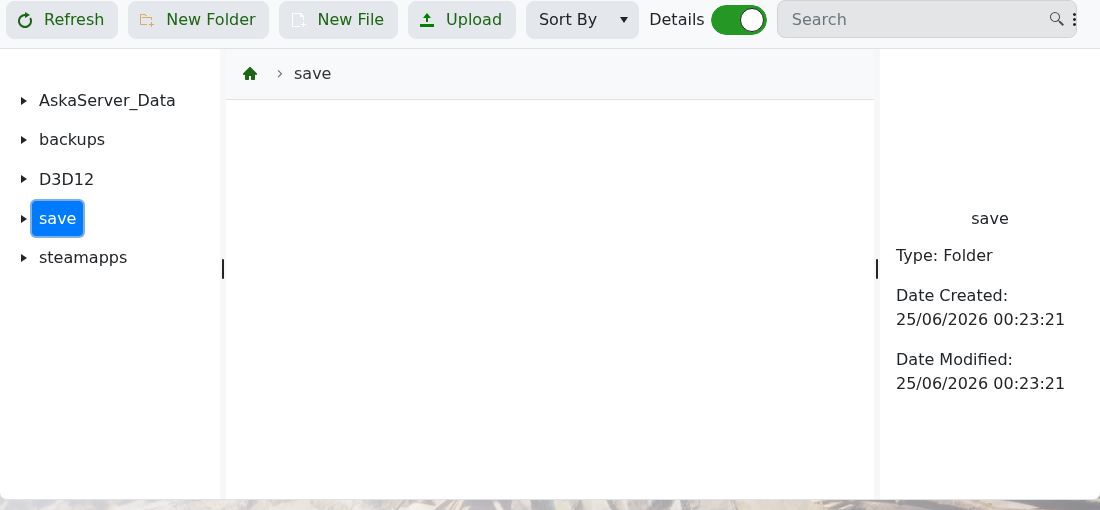
- Upload the ZIP file through File Manager, then extract it from the panel. Avoid uploading thousands of extracted save files over FTP if the panel upload is available.
- The save should be placed in the server save area as a
savegame_...folder. The ID is the part aftersavegame_. For example,savegame_a1d2a_190126234844usesa1d2a_190126234844. - Go to Configuration Files, then click Config Editor next to
server properties.txt.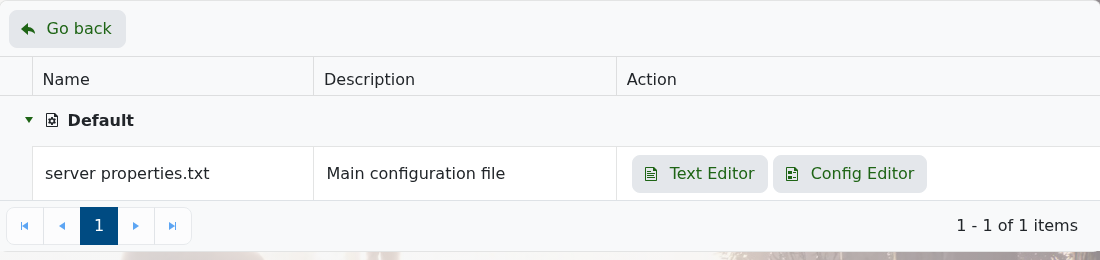
- Set Save ID to the save ID from your uploaded folder.
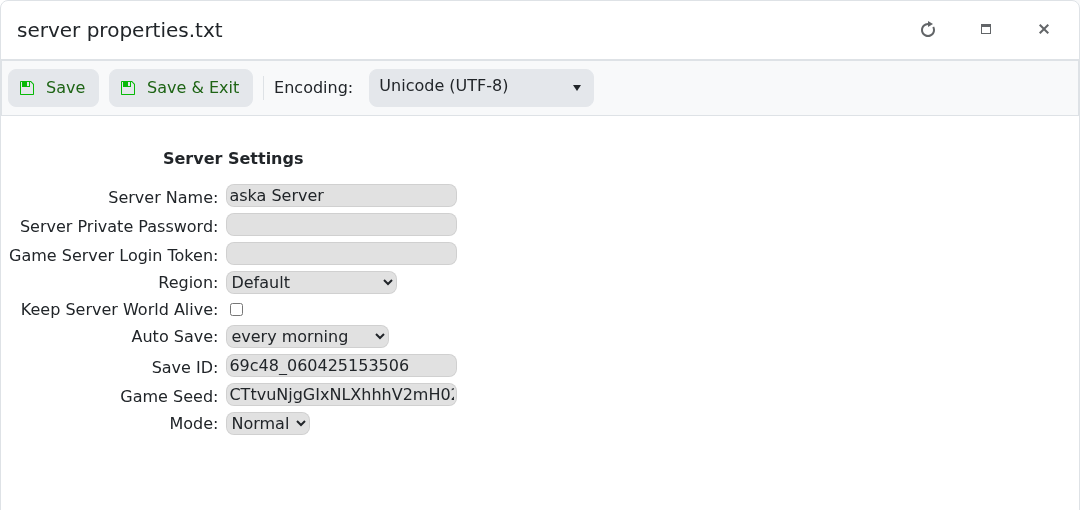
- Click Save & Exit, then start the server.
If ASKA still creates a new save folder, stop the server and check that the Save ID exactly matches the uploaded folder name without the savegame_ prefix. Some single-player saves may not load cleanly on a dedicated server; if the uploaded save still will not load, submit a support ticket and include the save folder name you uploaded.
