The server name is controlled from AloftServer.ps1 in the Config Editor.
- Open your Aloft server in the control panel, then click Configuration Files.
- Click Config Editor next to
AloftServer.ps1.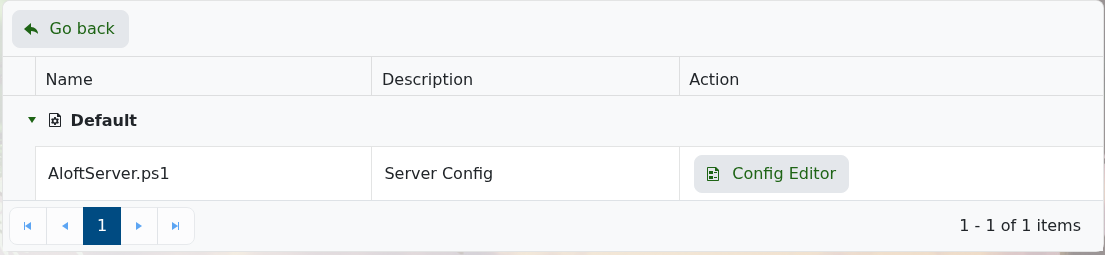
- Change the Server Name field to the name you want players to see.
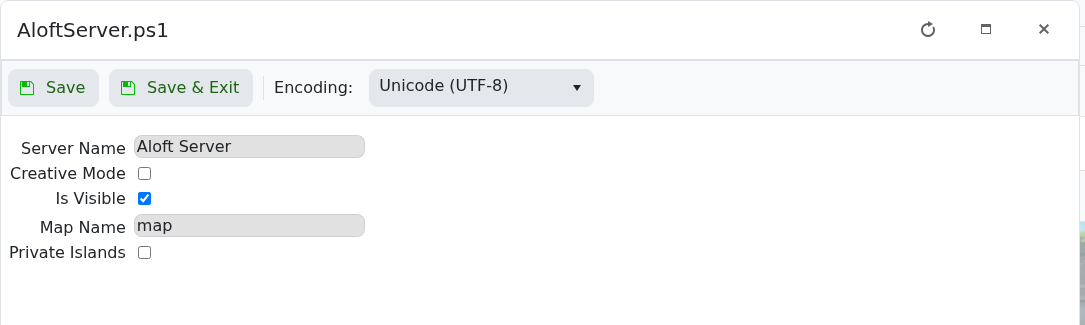
- Click Save & Exit, then restart the server.
For the other settings on this page, see Modifying the settings of your Aloft server.
After saving
Restart the server after changing public listing details. Some game server browsers cache names, descriptions, and banners, so the old value may show for a short time even after the server has restarted.
If the old value still shows
Check that the new value is still saved in the control panel, then refresh the in-game server browser or try direct connect. Avoid special characters until you have confirmed the basic change works.
