Use a custom command line when your Arma 3 server needs startup options that are not covered by the default selected command line. This is common for larger mod lists, server-side mods, Creator DLC folders, custom profiles, and advanced launch parameters.
- Open your Arma 3 server in the control panel.
- Click Commandline Manager.
- Review the selected predefined command line first. If it already has the options you need, you can keep using it.
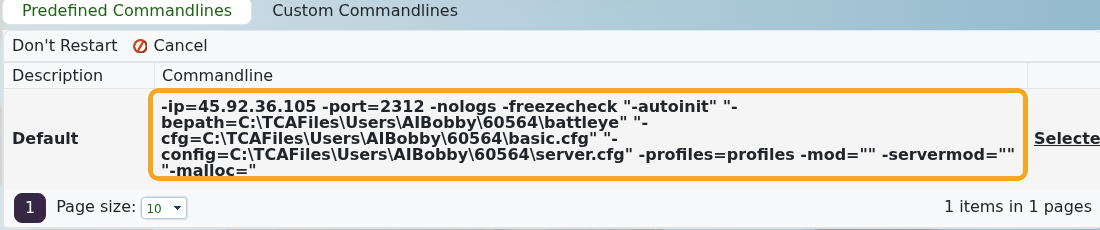
- If you need a separate startup line, open Custom Commandlines.

- Click New to open the custom command line form. Give the line a clear description, then set the options you need.
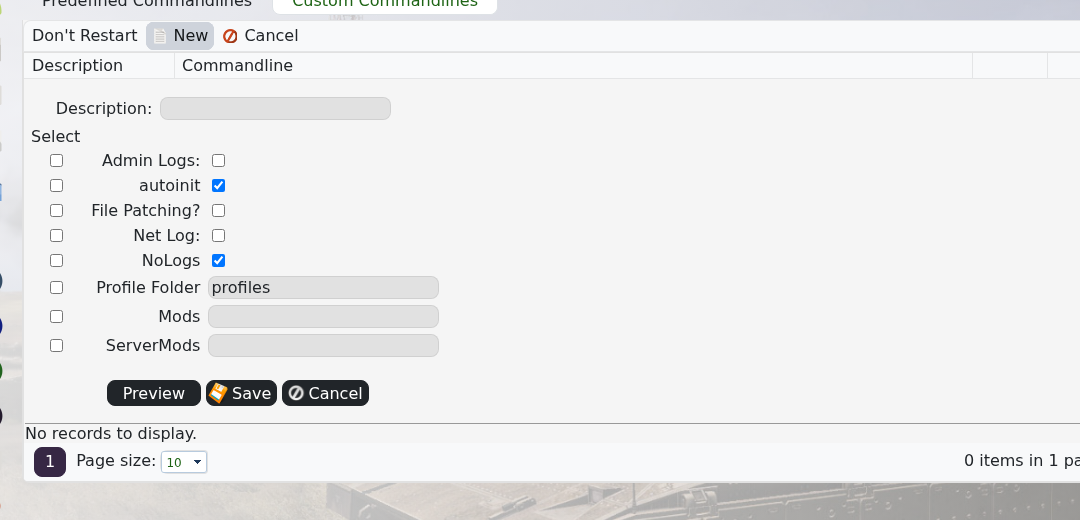
- Add client-required mods to
-mod, server-only mods to-servermod, and Creator DLC folders to the same mod startup list when required. - Save the custom command line.
- Click Select on the command line you want the server to use. The active row will show as selected.

- Restart the server and check Web Console for missing mod, mission, or startup parameter errors.
Example:
-mod="@CBA_A3;@ace;vn" -servermod="@serverTools"
Do not remove the required base options for IP, port, BattleEye path, config file, basic config, or profiles unless you know exactly why they are being changed. Those values are already present in the default command line.
