SteamCMD is Valve's command-line tool for downloading and updating dedicated server files on a Windows VPS. Many self-hosted Steam game servers use it before you install the actual game server, run updates, or validate server files.
This guide shows the normal Windows desktop method first, then gives a PowerShell version you can use if you prefer commands.
Download SteamCMD with Microsoft Edge
- Connect to your Windows VPS with Remote Desktop or the VPS console.
- Open Microsoft Edge. If Edge shows first-run setup screens, finish those prompts first.
- Go to
https://steamcdn-a.akamaihd.net/client/installer/steamcmd.zip.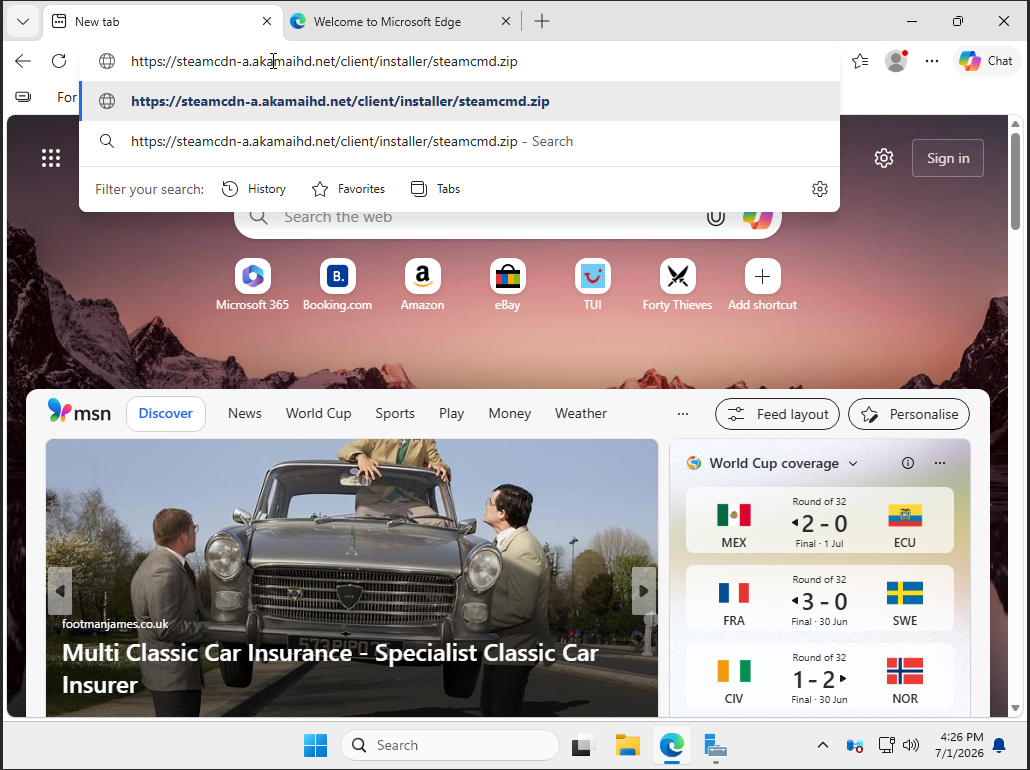
- Press Enter and wait for
steamcmd.zipto download.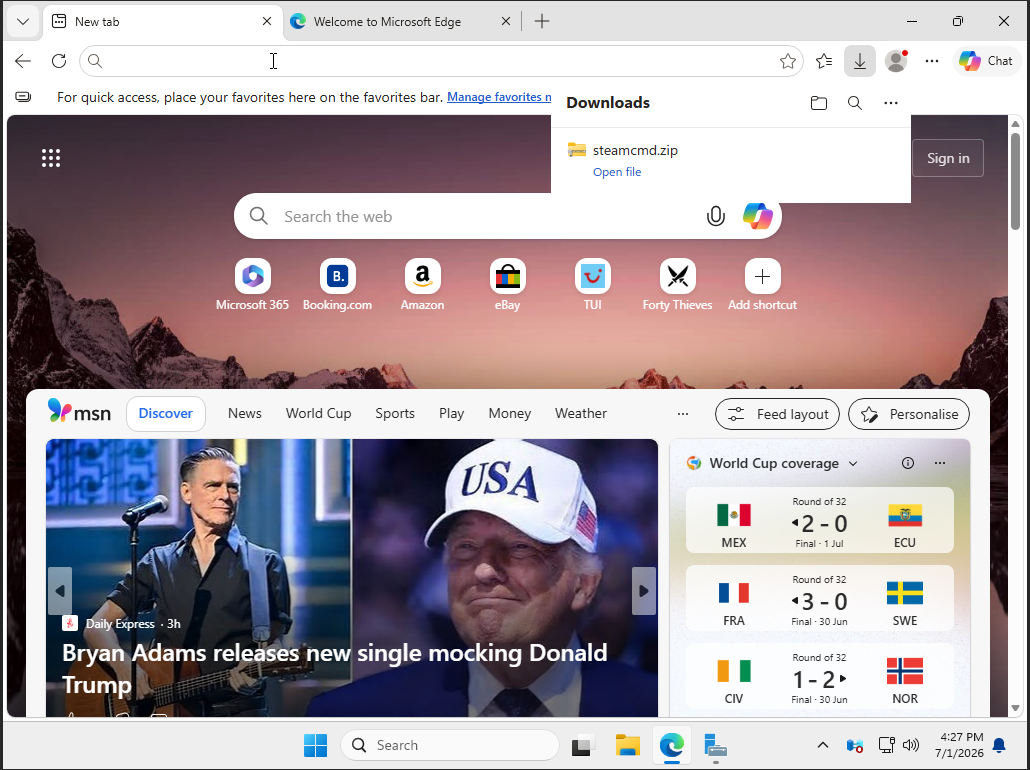
Extract SteamCMD to C:\steamcmd
- Open the Downloads folder.
- Right-click
steamcmd.zip, then click Extract All....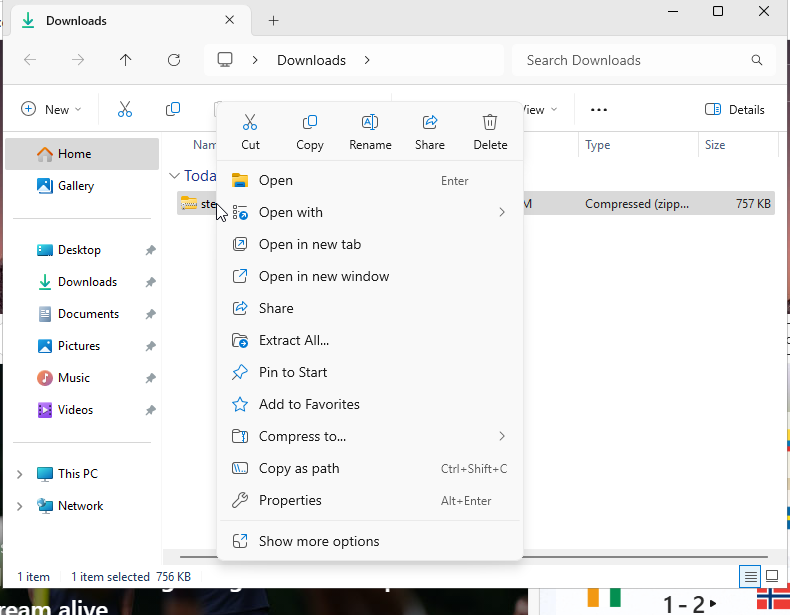
- Set the destination folder to
C:\steamcmd. - Leave Show extracted files when complete ticked, then click Extract.
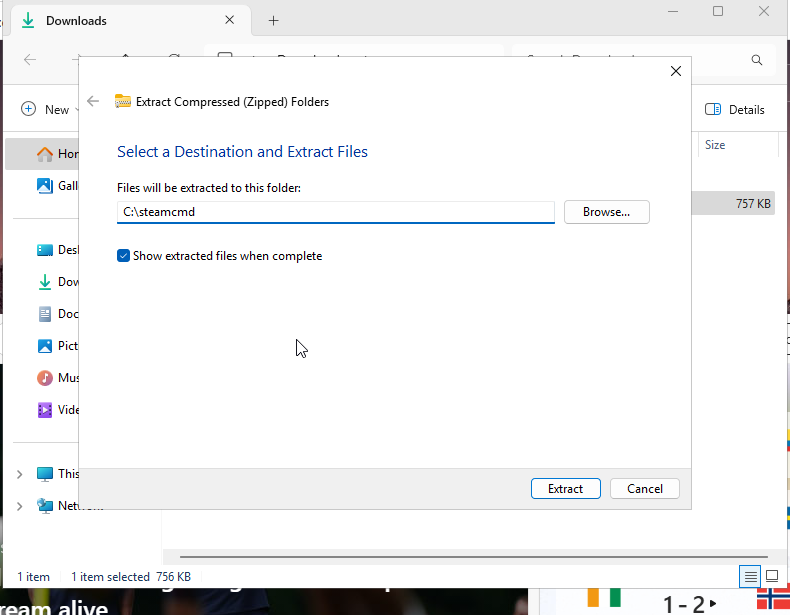
- After extraction, confirm
steamcmd.exeis insideC:\steamcmd.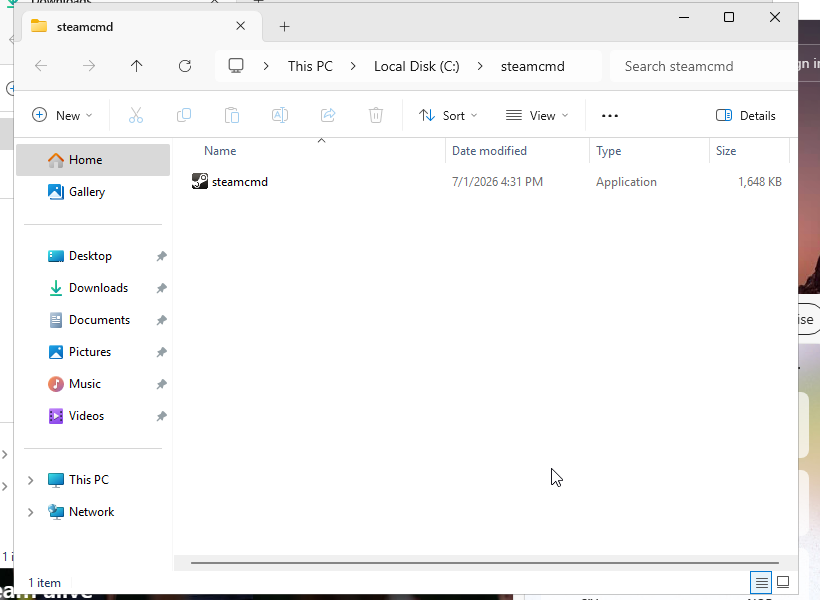
Run SteamCMD for the first time
- Double-click
steamcmd.exe. - Allow SteamCMD to download and install its own updates.
- Wait until the console shows the
Steam>prompt.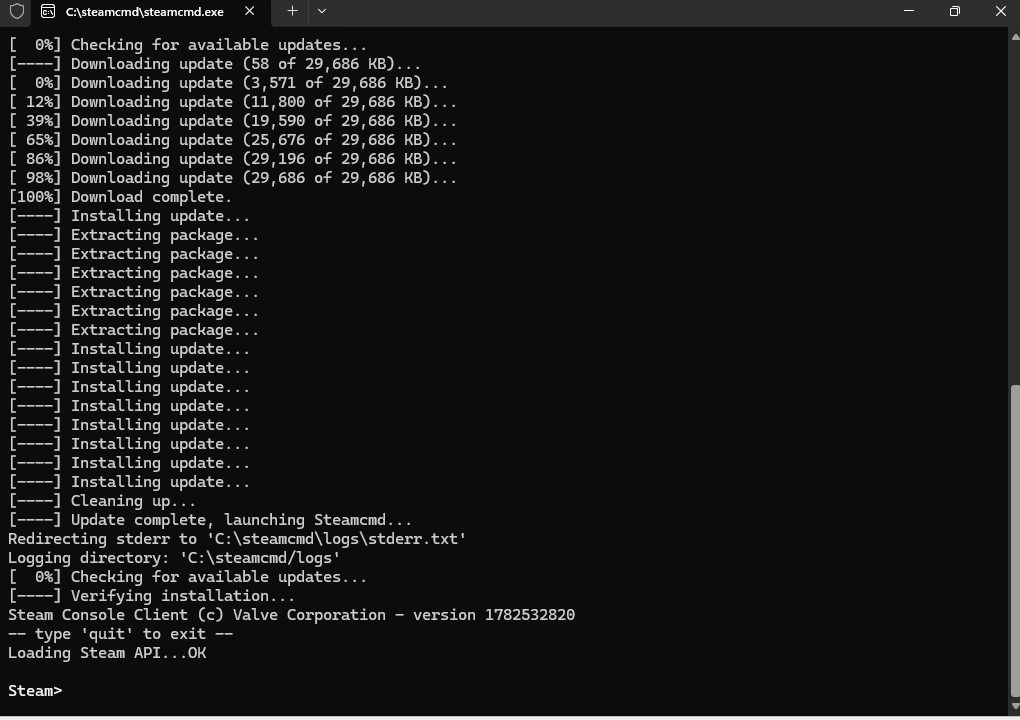
Once SteamCMD is ready, you can install a game server with the app ID and commands from that game's guide. A typical dedicated server install uses force_install_dir, login anonymous, app_update, and quit.
PowerShell method
If you prefer PowerShell, open PowerShell as Administrator and run these commands:
New-Item -ItemType Directory -Force -Path C:\steamcmd
Invoke-WebRequest -Uri https://steamcdn-a.akamaihd.net/client/installer/steamcmd.zip -OutFile C:\steamcmd\steamcmd.zip
Expand-Archive C:\steamcmd\steamcmd.zip -DestinationPath C:\steamcmd -Force
C:\steamcmd\steamcmd.exe
SteamCMD will update itself the first time it opens. After it reaches the Steam> prompt, follow the game-specific server install guide for the correct app ID and install directory.