You can join your 7 Days to Die server using the connection details shown on your control panel. The quickest option is to copy the server address from the panel, then add it to Steam favourites or use the direct connect option in-game.
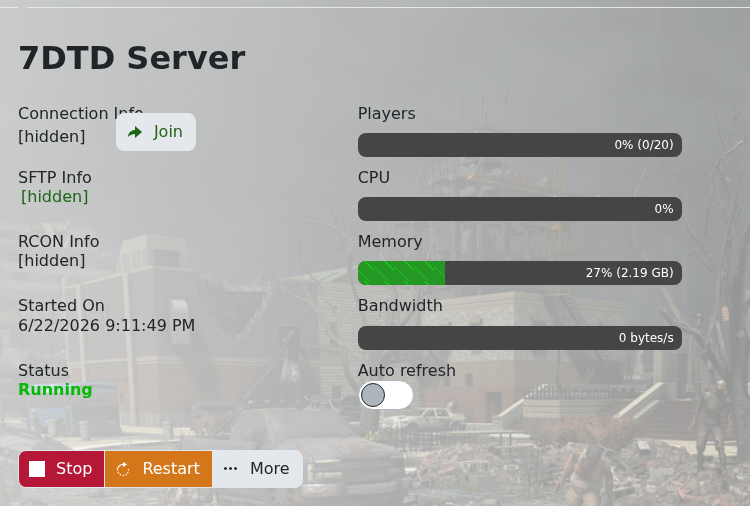
Open your 7 Days to Die server in the control panel and look for the Connection Info section. This shows the IP and port you need to connect.
If you want to add the server through Steam, open Steam, click View, then open Game Servers. Go to the Favourites tab, add a server, then paste in your server IP and port.
Once it has been added, open 7 Days to Die, filter your server list by favourites, then join from there.
You can also join from inside 7 Days to Die using Join Game and the direct connect option. Enter the IP and port from your control panel, then connect.
If the server does not show straight away, make sure the server is online and that you copied the full IP and port. The port matters, so do not leave it off.