Your 7 Days to Die server name is controlled by the ServerName line in serverconfig.xml. This is the name players see when they are looking for your server in the browser, so it is worth keeping it clear and easy to recognise.
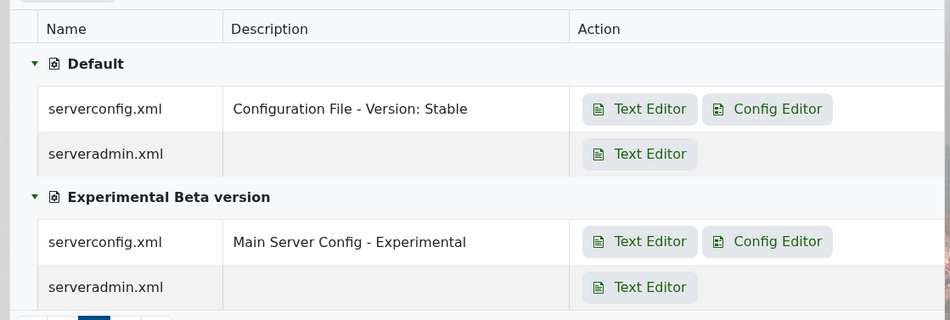
In your control panel, open the 7 Days to Die service and go to Configuration Files. Open serverconfig.xml with the Text Editor.
Near the top of the file, find the server representation section. You should see ServerName and ServerDescription close together.
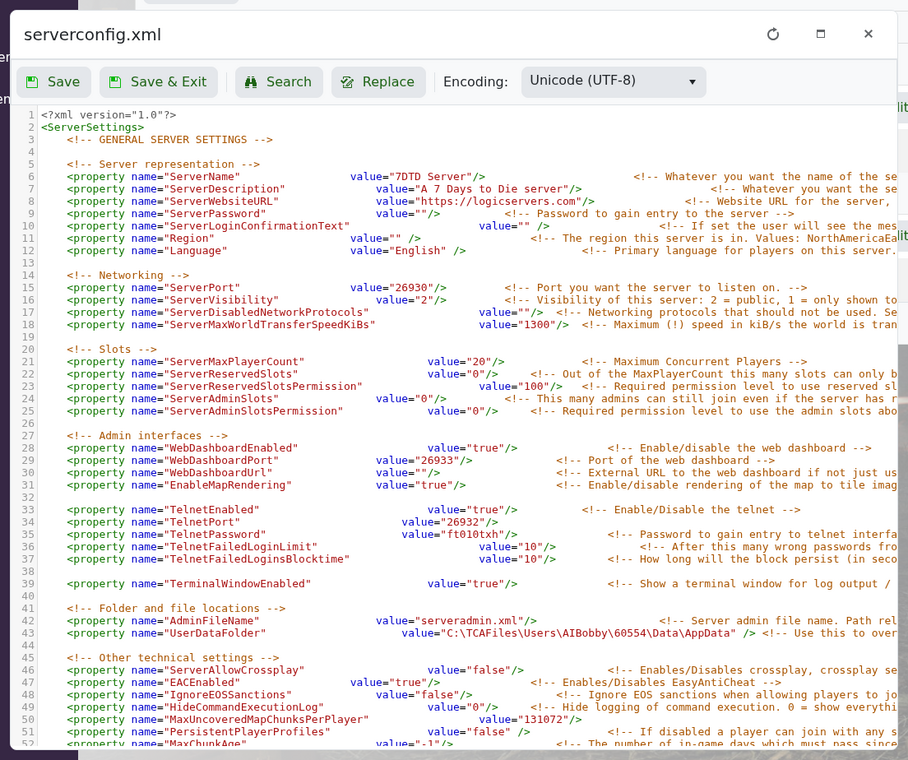
Change the value to the name you want players to see:
<property name="ServerName" value="My 7 Days to Die Server"/>
You can also update the description shown in the browser:
<property name="ServerDescription" value="A friendly 7 Days to Die server"/>
Save the file, then restart your server. Server lists can cache details for a short while, so give it a few minutes if the old name still appears straight away.