Blood Moon settings are part of the 7 Days to Die sandbox options. On current configs, those options are stored inside SandboxCode, so you should generate the code from the game instead of trying to edit random values by hand.
Open your server in the control panel and go to Configuration Files. Edit serverconfig.xml with the Text Editor.
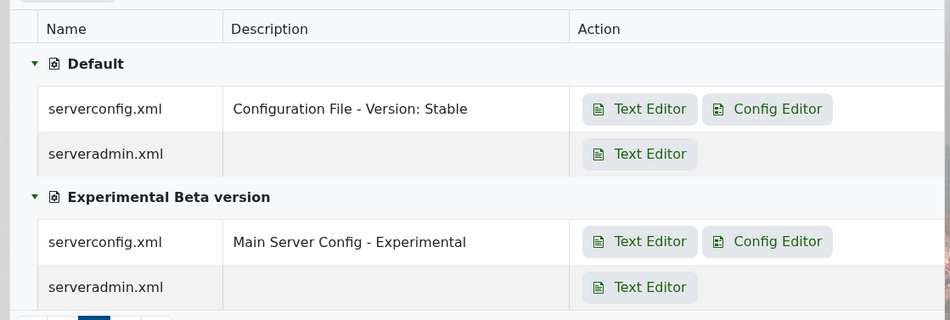
Scroll down until you find SandboxCode.
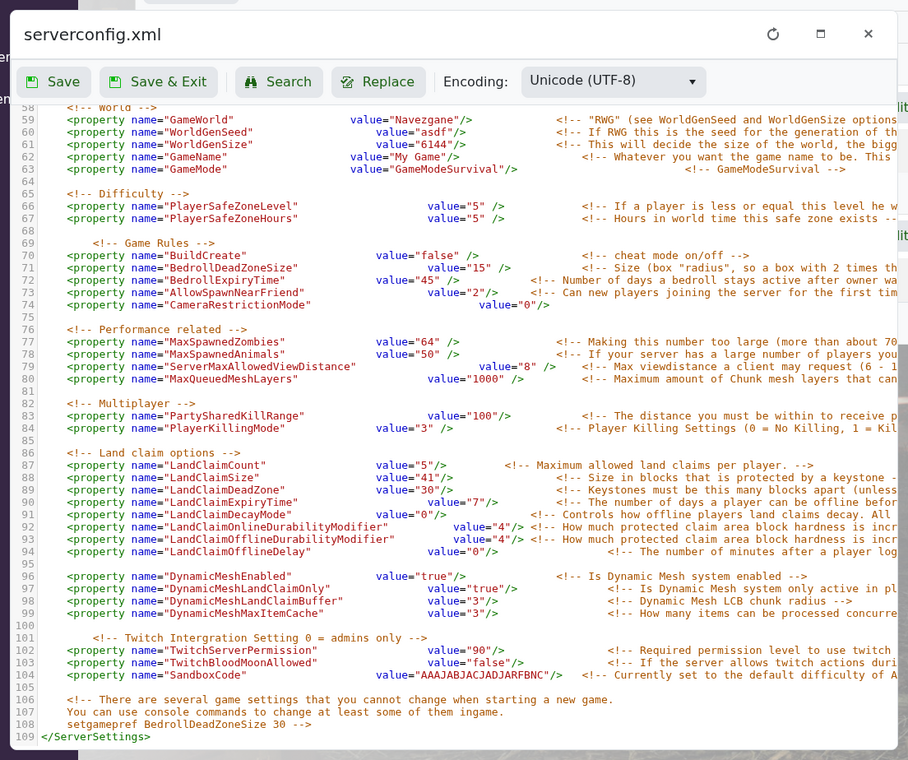
The setting will look similar to this:
<property name="SandboxCode" value="AAAJABJACJADJARFBNC"/>
To change Blood Moon settings, open 7 Days to Die and start creating a new game. Set the Blood Moon frequency, range, warning, zombie count, and related options how you want them. Copy the sandbox code from the game and paste it into SandboxCode on the server.
Save the file and restart your server. Do not confuse this with TwitchBloodMoonAllowed; that setting only controls Twitch integration actions during Blood Moon, not the normal Blood Moon schedule.
If you make Blood Moons harder, keep an eye on performance. Higher zombie counts can add a lot of CPU load, especially with more players online.