The easiest way to make your 7 Days to Die server private is to add a server password. Players will need that password before they can join.
Stop your server before changing the password.
Adding a server password
Open your 7 Days to Die server in the control panel, then click Configuration Files.
Open serverconfig.xml with Config Editor first. This is usually the easiest way to update the server name and password. If the password field is not shown in Config Editor, open the file with Text Editor and search for ServerPassword.
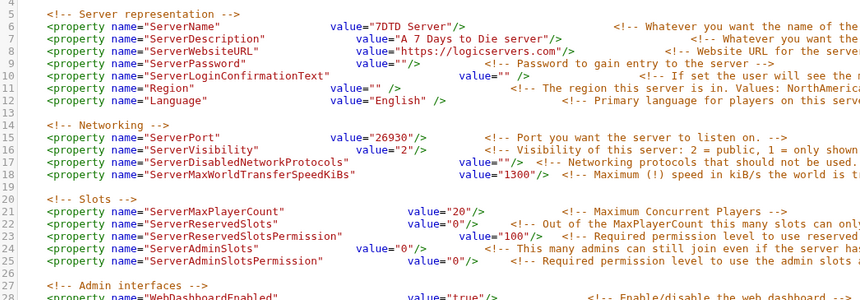
Set ServerPassword to the password you want players to use:
<property name="ServerPassword" value="YourPasswordHere"/>
Save the file, then start your server again.
If you want the server to be harder to find, you can also check the server visibility setting in serverconfig.xml. The password is still the main thing that stops other players joining.
To make the server public again, clear the password value and restart the server.