You can upload an ARK single-player save by copying the local save files from your PC into the server save folder, then making sure the server is using the matching map and save name.
- Stop the ARK server and take a backup first: Backing up and restoring world and player data on your ARK server.
- On your PC, open your ARK install folder. The default Steam path is usually
C:\Program Files (x86)\Steam\steamapps\common\ARK\ShooterGame\Saved\SavedArksLocal. - Find the save files for the map you want to upload. Keep the map file, tribe/player data, and related save files together.
- Open your ARK server in the control panel and click File Manager.
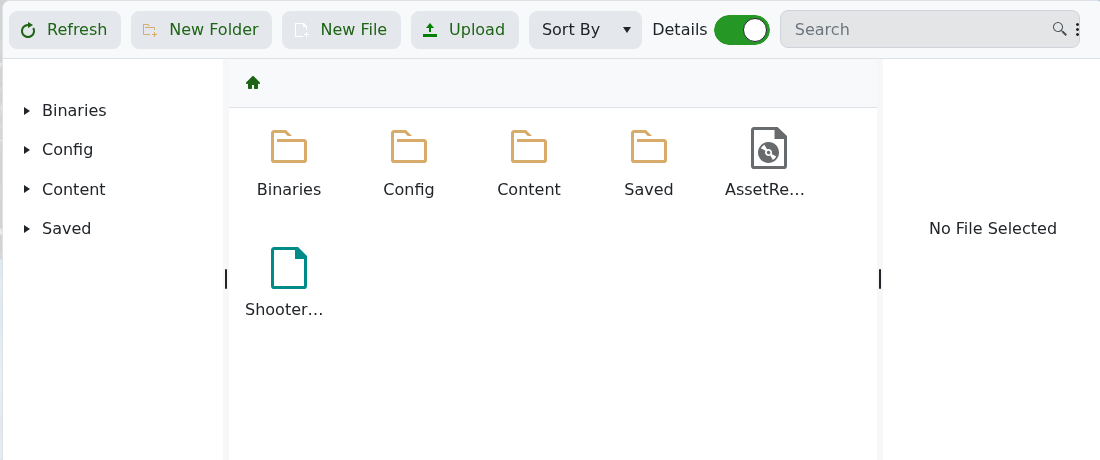
- Open
ShooterGame/Saved/SavedArks. If your server uses a custom save directory, open that directory instead. - Upload the save files from your PC. For large uploads, use SFTP instead of the browser File Manager.
- Make sure your selected map/command line matches the uploaded world.
- Start the server and check that the uploaded world loads.
If the server creates a new world instead, stop it and check that the map name and save directory match the uploaded files.