Schedules let you run panel actions automatically, such as restarting the server, sending a console command, or creating a backup.
Create the schedule
- Open your server in the Ptero control panel, then open Schedules.
- Click Create schedule.
- Enter a Schedule Name so you can recognise what the schedule is for.
- Choose a Frequency. For most schedules, use one of the preset options such as Every Hour, Daily at Midnight, or Weekly on Monday at 1 AM.
Only When Server Is Online means the schedule will only run while the server is already running.
Schedule Enabled means the schedule will run automatically. Turn this off if you want to create the schedule now but enable it later.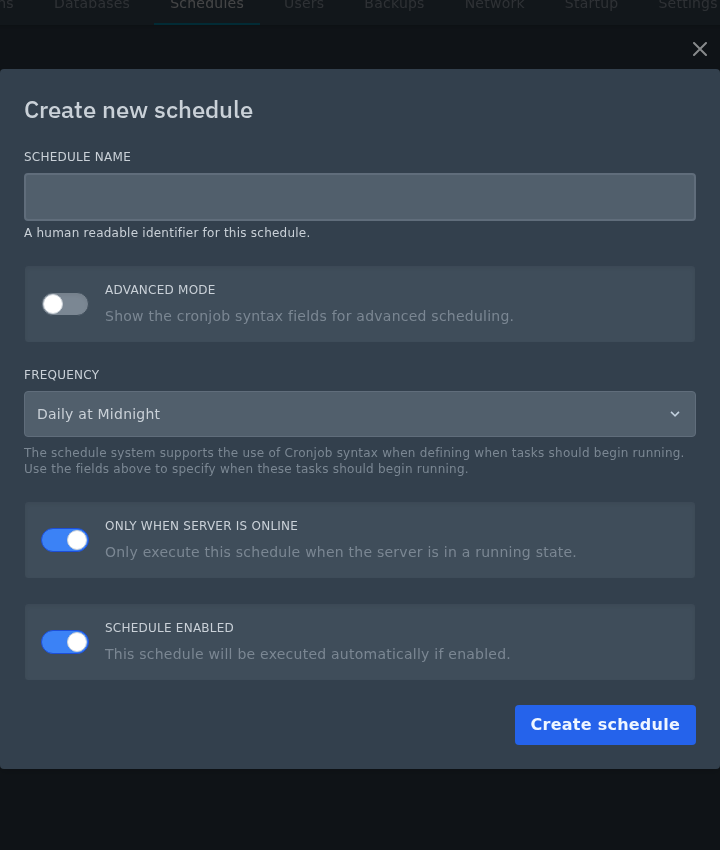
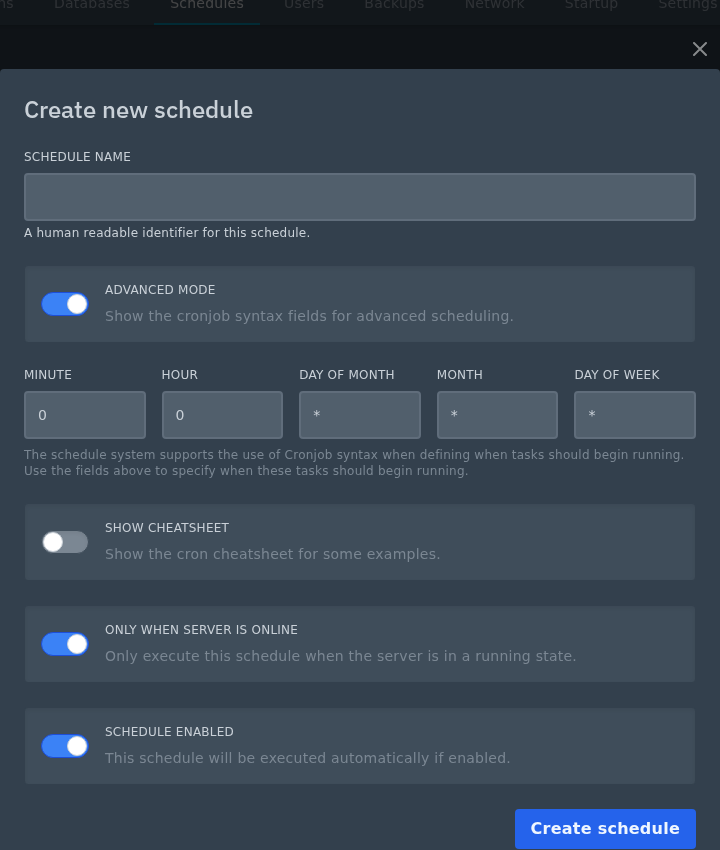
- Only use Advanced Mode if you need custom cron timing. Advanced Mode lets you set Minute, Hour, Day of Month, Month, and Day of Week manually. For more detail, see: How cron schedule syntax works.
- Click Create schedule.
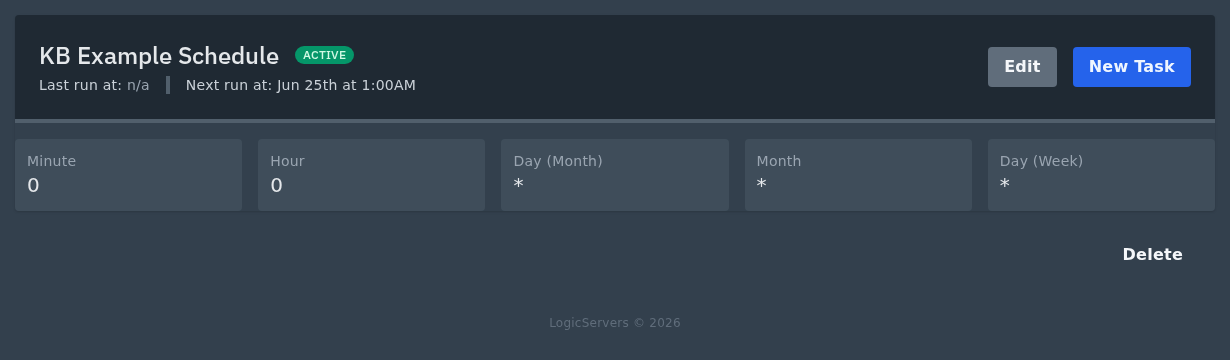
Add a task
- Open the schedule you created.
- Click New Task.
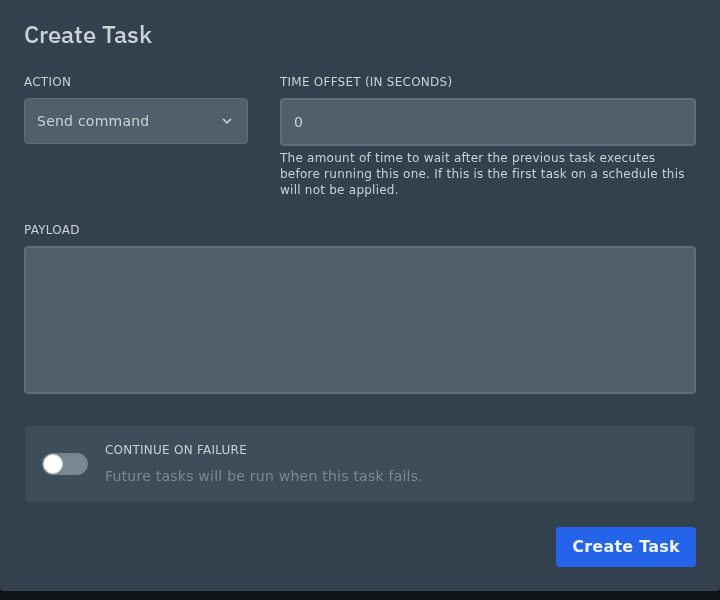
- Choose the Action you want the schedule to run: Send command, Send power action, or Create backup.
If you are using a command task, make sure the command is valid for the game or server software you are running. - Use Time Offset if this task should wait after a previous task. For the first task, this can normally stay as 0.
- Enable Continue on Failure only if later tasks should still run when this task fails.
- Click Create Task.
Example: scheduled restart with a warning
A common use for schedules is restarting a Minecraft server after warning players first. You can do this by adding more than one task to the same schedule.
- Add a Send command task with a warning command, such as a broadcast message telling players the server will restart soon.
- Add a Send power action task after it and set the Time Offset to the number of seconds you want to wait. For example, use
300to wait 5 minutes. - Set the power action to Restart.
The schedule will run the warning first, wait for the time offset, then restart the server. You can use the same idea for other chained tasks, such as running a save command before restarting.