You can use an ISO on a VPS when you need recovery media, an operating system installer, VirtIO drivers, or a rescue environment. For most normal reinstalls, use the VPS reinstall option instead. Use an ISO when a guide specifically tells you to boot from recovery or installation media.
Only use ISO files from sources you trust. A bad ISO can fail to boot, contain the wrong installer, or make recovery work harder.
Open ISO Management
- Open your VPS service from the client area.
- Open the VPS control panel.
- Open the VPS you want to work on.
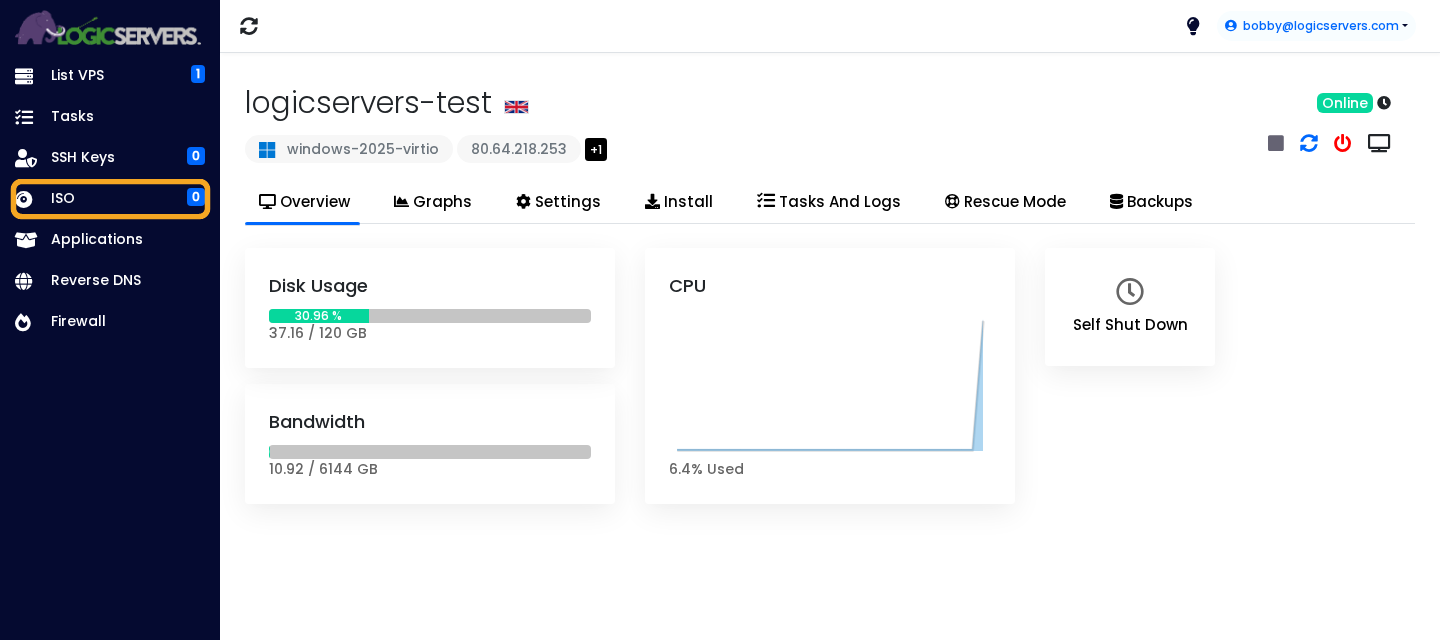
- Click ISO in the left sidebar.
Add the ISO to your account
- Click Add ISO.
- Paste the direct ISO download URL into ISO URL.
- Enter a clear file name in ISO File Name, for example
windows-recovery.isoorsystemrescue.iso. - Click Add ISO.

The ISO URL must be a direct link to the ISO file. A normal download page, login-protected page, cloud sharing page, or link that expires may not work.
Select the ISO on the VPS
- Open the VPS again from the VPS list.
- Click Settings.
- Use Select ISO or ISO for secondary CDROM to choose the ISO you added.
- Click Submit to save the VPS configuration.
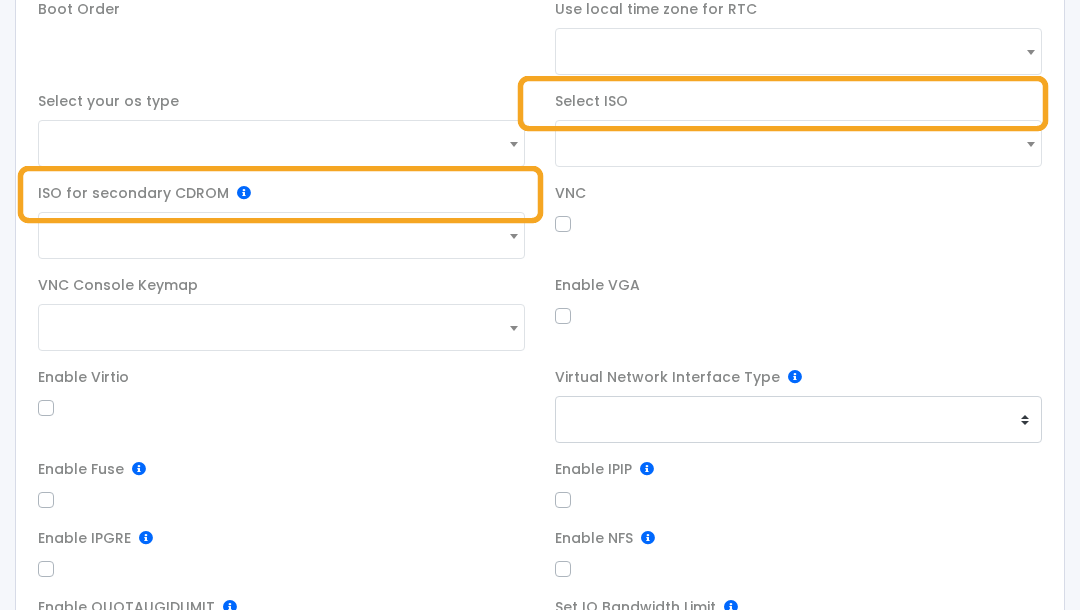
Use Select ISO when you want the VPS to boot from the ISO. Use ISO for secondary CDROM when you want the ISO attached as an extra virtual disc while keeping the installed operating system as the main boot disk.
Boot and use the ISO
- Restart the VPS after saving the ISO setting.
- Open the VPS console or VNC so you can see the boot screen: How to use the VPS console or VNC.
- If the VPS does not boot from the ISO, return to Settings and check the boot order or ISO selection.
- After finishing the recovery or installer task, remove the ISO from the VPS settings and reboot again.
Do not leave recovery media mounted after the work is complete. If the VPS keeps booting back into the ISO, remove it from the VPS settings and restart the server.