Windows recovery media may not always see the VPS disk straight away. If Command Prompt, Windows Setup, or recovery tools only show the installer ISO and not the installed Windows drive, load the VirtIO storage drivers from the driver ISO.
This is commonly needed when you boot a Windows VPS from recovery media to repair startup problems, reset a local Administrator password, or work with the installed Windows files outside the running operating system.
These steps assume you are using Windows Server 2025 recovery media. If you use a different Windows version, choose the matching driver folder on the VirtIO ISO.
Mount both ISOs
- Open your VPS service from the client area.
- Open the VPS control panel.
- Open the VPS you want to repair.
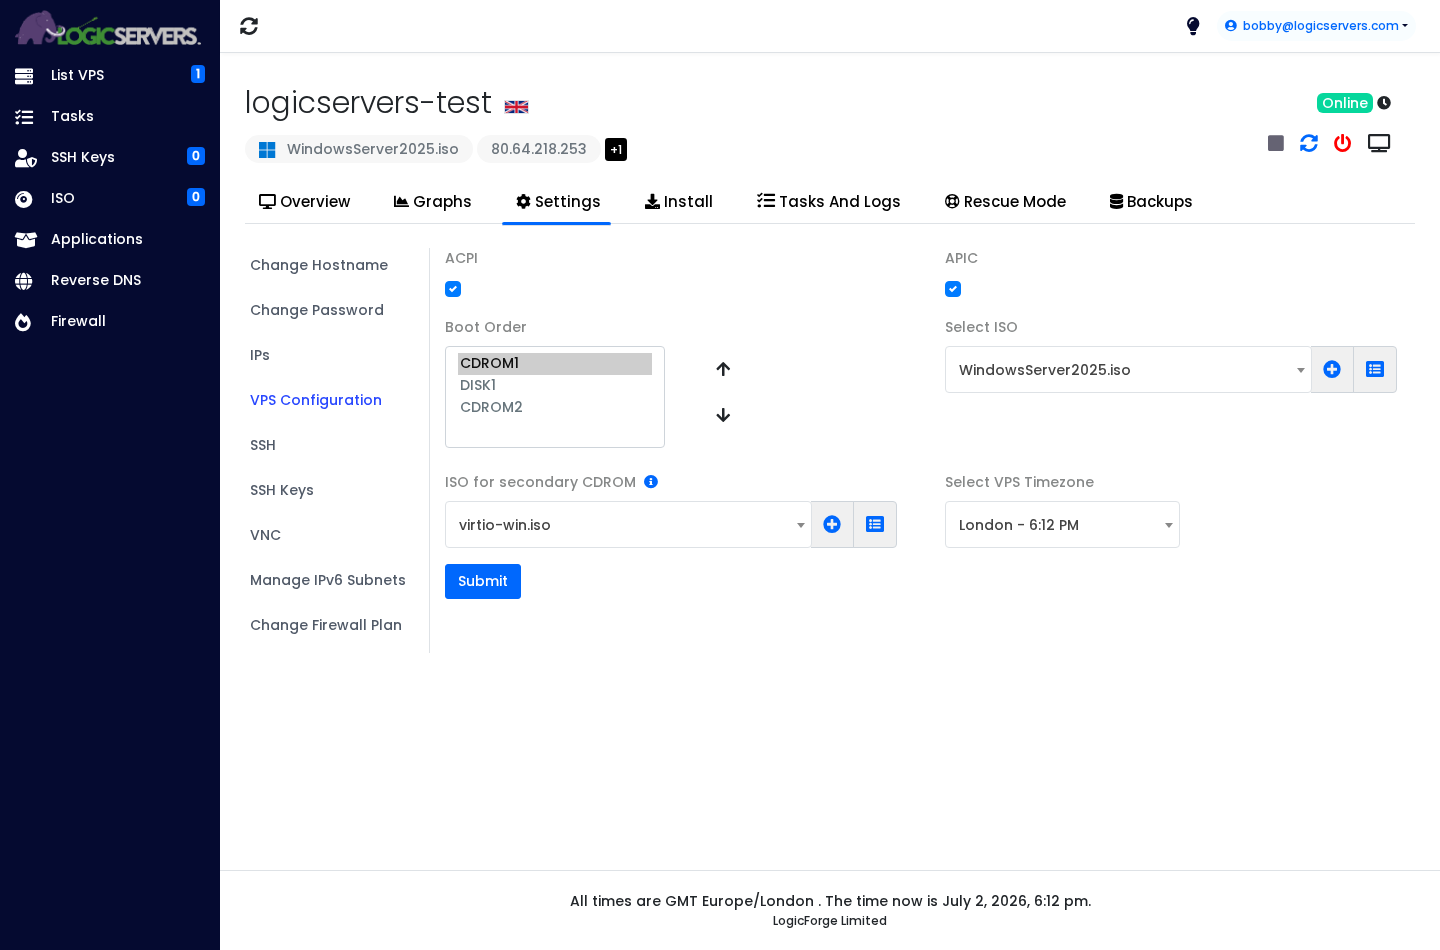
- Click Settings.
- Click VPS Configuration.
- Set Select ISO to the Windows Server recovery or installer ISO, for example WindowsServer2025.iso.
- Set ISO for secondary CDROM to virtio-win.iso.
- Set the boot order so CDROM1 is above DISK1, then click Submit.
If you need a general ISO mounting walkthrough, use How to add and mount an ISO on your VPS.
Open recovery Command Prompt
- Open the VPS console or VNC so you can see the boot screen: How to use the VPS console or VNC.
- Restart the VPS.
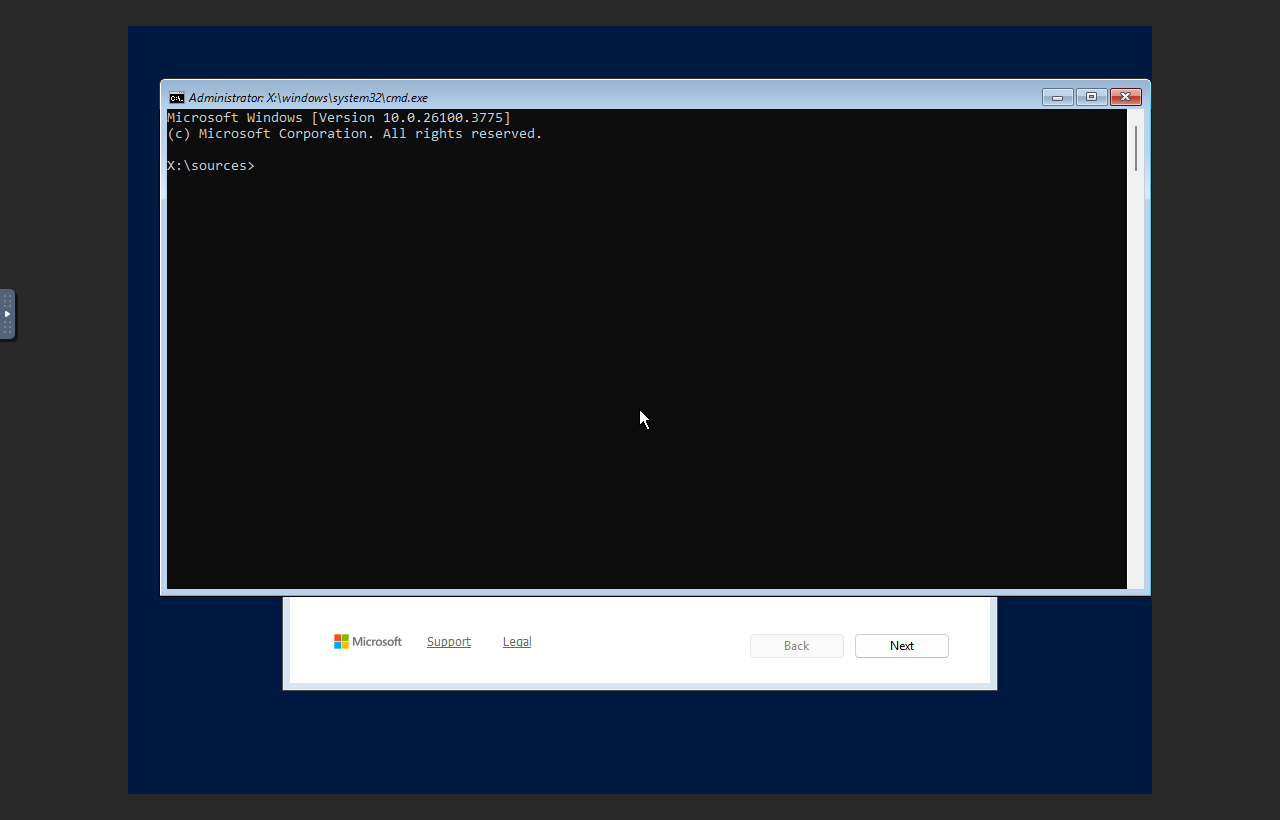
- If prompted to boot from CD or DVD, press a key quickly.
- When the Windows Setup screen appears, press Shift + F10. This opens Command Prompt before the installed copy of Windows starts.
Check whether the disk is visible
- Run DiskPart from Command Prompt:
diskpart
list volume
- If you can already see the Windows partition, note its drive letter and exit DiskPart:
exit
- If you only see the Windows ISO and the VirtIO ISO, load the storage drivers in the next section.
Load the VirtIO storage drivers
- In the examples below, the VirtIO ISO is mounted as
E:. If yourlist volumeoutput shows a different letter for virtio-win, use that letter instead. - For Windows Server 2025, load the drivers from
E:\amd64\2k25:drvload E:\amd64\2k25\viostor.inf drvload E:\amd64\2k25\vioscsi.inf
- Check the volumes again:
diskpart
list volume
exit
The installed Windows disk should now appear. In this example it appears as
C:.
After you finish recovery work
- Return to VPS Configuration.
- Set Select ISO to None.
- Set ISO for secondary CDROM to None.
- Set the boot order back to DISK1.
- Click Submit, then restart the VPS normally.
Do not leave recovery or driver ISOs mounted after you finish. If the VPS keeps booting back into Windows Setup, remove the ISO and restart again.